Checklist for Verifying Mobile Device Issues
Table of Contents
- Have the student's description of the problem nearby as reference.
- Log in to device as the student who brought it in.
- Devices with physical damage will need to be collected and kept at the school until there are a large amount to send over to the LPS Help Desk.
- A Help Desk ticket or email request must be created before sending anything out to the LPS Help Desk.
Chromebooks
Common Issues
1A: Checking for power
- Connect the device to a charger and then to a power source. If the status light is ORANGE this means the battery is charging. (the status light usually located on the right side of the device)
- If the status light is WHITE this means the battery is charged fully and the device should power on.
- If the status light is ORANGE or WHITE and device is still not powering on after 5 minutes of charging please test the device with new charger.
- Unplug the current charger > hold power button for like 20seconds > plug a different charger back in and try to turn it on.
- Look for any physical damage to the charger or charging port and take note of it in a ticket to the LPS Help Desk.
- Any non-powering Chromebooks may be swapped out for a working one. The device must be labeled “no power per guide 1A-*SCHOOL*-*TICKET NUMBER*" (if applicable) before sending to the Help Desk.
1B: Camera/Microphone issues while in Zoom
- Please make sure the microphone and camera are allowed in the Chrome browser Site Settings.
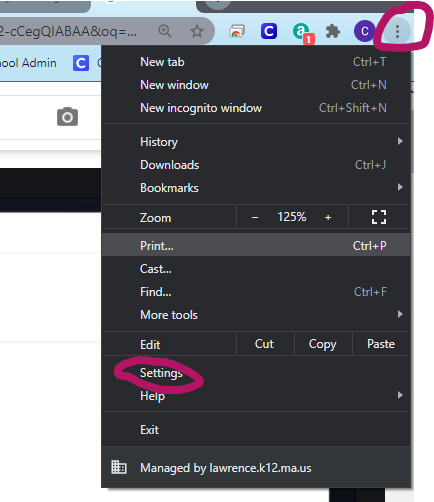
- To access the Site Settings, click the 3-vertical dots at the top right of the Chrome browser and select Settings.
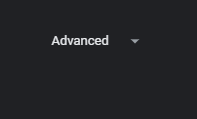
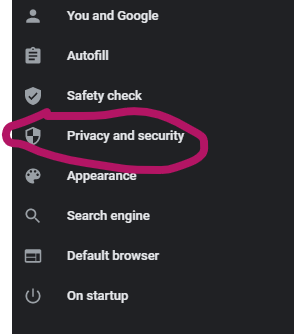
- Scroll down and click Advanced, then select Privacy and Security on the left side of the page.
- Select Site Settings, then Microphone or Camera.
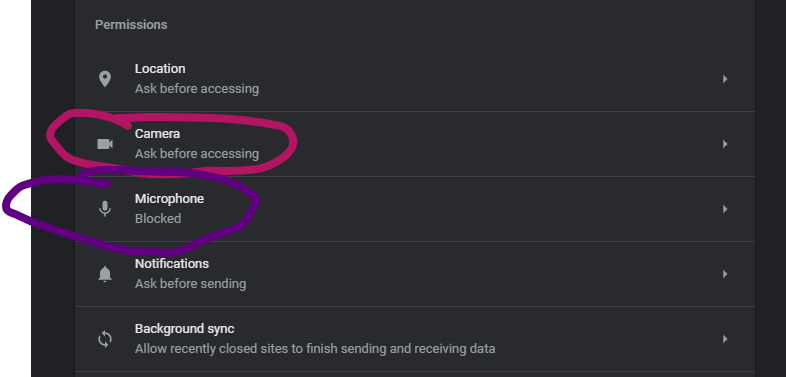
- Under Allow, make sure Zoom.us is there. Also, make sure the default is set to the built-in microphone and camera.
- Make sure Ask before accessing (recommended) is toggled on. You may close this tab when finished.
- Verify the built-in camera and microphone work.
- Click on the Chrome Launcher located in the bottom-left of the Chromebook screen.
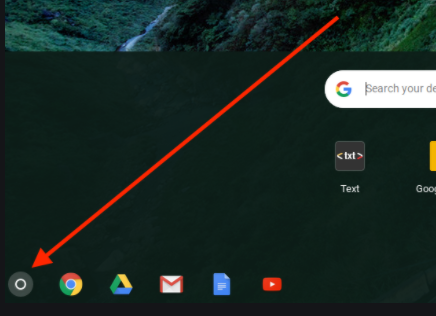
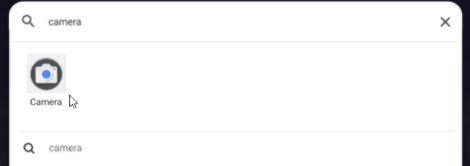
- Type Camera in search bar then select the Camera app.
- If you see a white status light on the Camera then it should display whatever is front of the Chromebook.
- If you do not see white status light or any video being displayed in the app then the camera is faulty/defective.

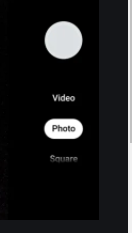
- Select Video and start recording audio to test out the microphone.
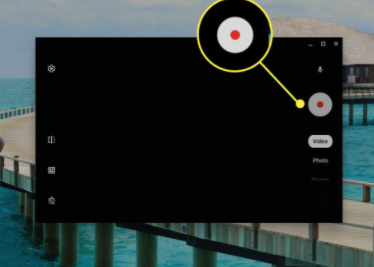
- When finished recording please click the bottom right circle to play back the recorded video.
- If you do not hear any sound please make sure the Chromebook audio volume is set correctly.
- Any non-working Camera/microphone devices may be swapped out for a working one. The device must be labeled either “bad mic per guide 1B-*SCHOOL*-*TICKET NUMBER* OR “bad camera per guide 1B-*SCHOOL*-*TICKET NUMBER* (if applicable) before sending to the Help Desk.
1C: Slow, Non-responsive, crashing websites on Chromebook
Update Chrome OS
- Click on the Chrome browser icon on task bar if Chrome is not already opened.
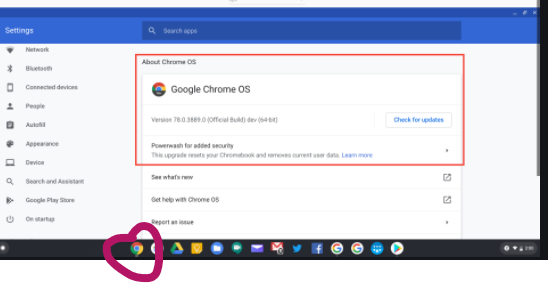
- Click on the 3-vertical dots at the top-right of the Chrome browser window then select Help -> About Google Chrome.
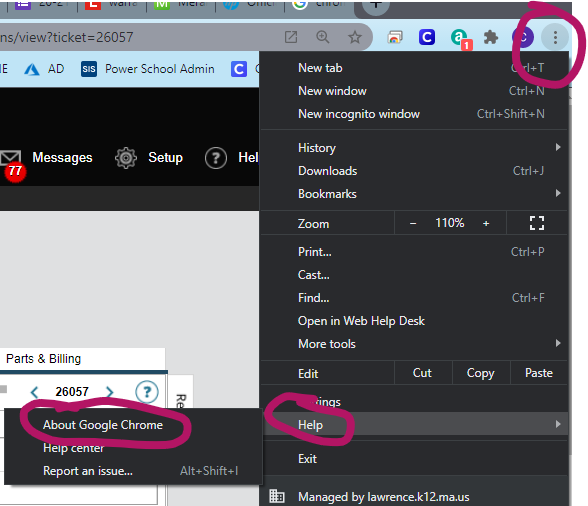
- Click Chrome OS settings, then click the button labelled Check for updates.
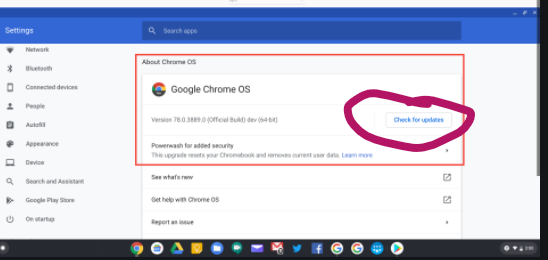
- The device will automatically update to the newest version of Chrome OS (this may take a few minutes depending on their current version and will ask you to restart after updating).
Close out unused open tabs
- Having many opened tabs can create an issues on Chromebook devices as each tab will use up system resources.
- Click on the X next to any tab to close it. If you do not see the X you may need to click on the tab.

Clear history/cookies/cache/saved passwords in the Chrome browser
- Click on the 3-vertical dots at the top-right of the Chrome browser window then select More Tools -> Clear Browsing Data.
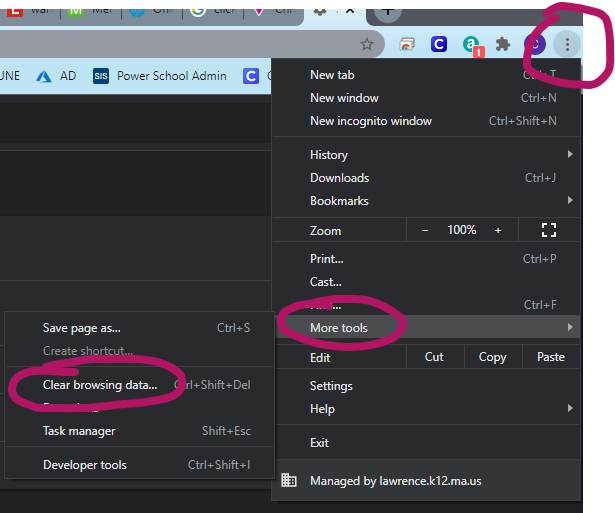
- A new window will appear.
![]()
- From the Time range drop-down, select All Time.
- Check boxes for: Browsing history, Download history, Cookies and other site and data, and Cached images and files.
- Click on the button labelled Clear data. This process may take a few minutes and the window will close when it is done clearing.
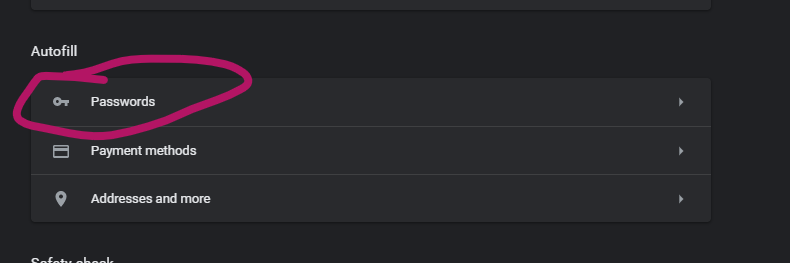
- Once the window closes you will taken back to the Settings screen. Under the Autofill section Click on Passwords.
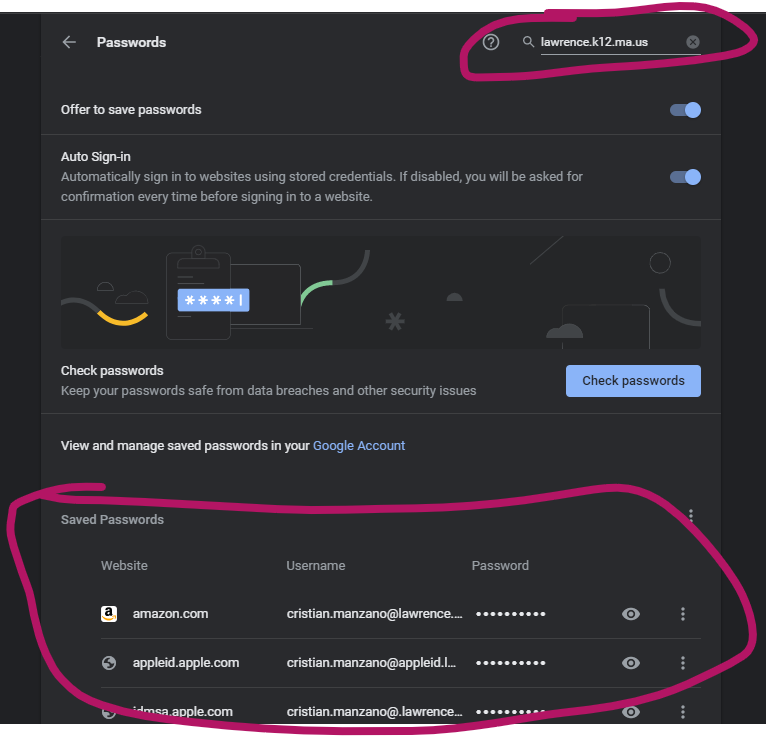
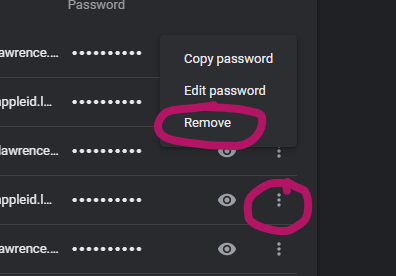
- Click in the search field at the top-right of the Passwords window. Type "lawrence.k12.ma.us" in the field and remove all saved passwords that appear.
- Restart Chrome (close all tabs and close browser window).
1D: Checking the clock
- Click on the time display in the bottom right part of the logon screen.
- Click on the date display in the menu.
- a window named "Check your system time" will show up.
- enter in the correct time and date.
- click Done.
1E: Testing the keyboard and touchpad
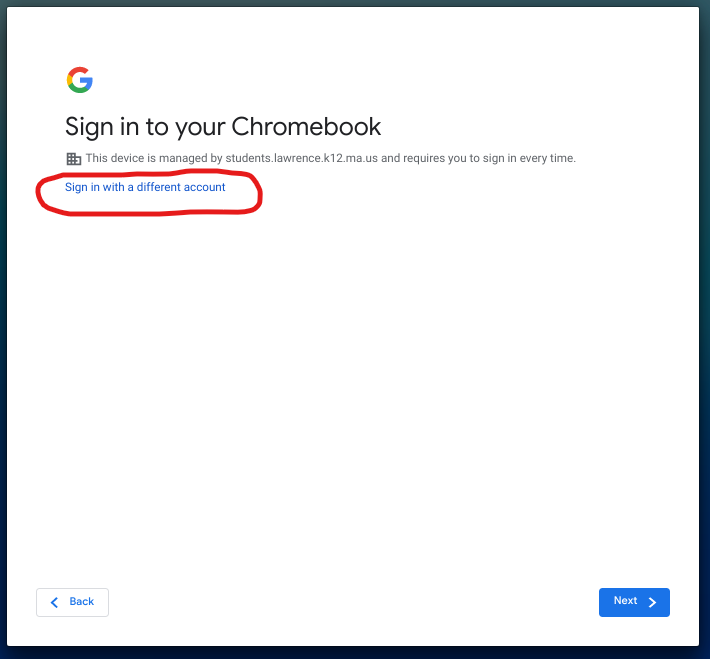
- The keyboard can be tested without logging in to a Chromebook.
- At the initial log in screen click Sign in with a different account.
- Press all the keys on the keyboard to make sure they work.
- Next, test the touchpad by making sure there is no dust or dirt on the surface of the touchpad.
- Press the Esc key several times.
- Drumroll your fingers on the touchpad for ten seconds.
- Turn the Chromebook off, then back on again.
- Any non-working keyboard/mousepad devices may be swapped out for a working one. The device must be labeled either "bad mouse per guide 1D-*SCHOOL*-*TICKET NUMBER*" OR "bad keyboard per guide 1D-*SCHOOL*-*TICKET NUMBER*" (if applicable) before sending to the Help Desk.
Ipads
A: Checking for Power
- Plug iPad to charger and wait for Apple logo to appear. This will signal that the iPad is booting up.
- If logo does not appear, wait at least 5 minutes and then try another known-working charger.
- Also look for any physical damage to the charger or charging port on the device and make note of it in a ticket to the LPS Help Desk.
- Any non-powering iPads may be swapped out for a working one. The device must be labeled "no power per guide 2A-*SCHOOL*-*TICKET NUMBER*" (if applicable) before sending to the Help Desk.
B: Camera/Microphone issues while in Zoom
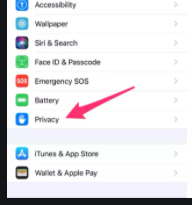
-Tap open iOS Settings app.
-Tap Privacy>Tap Camera or Microphone.
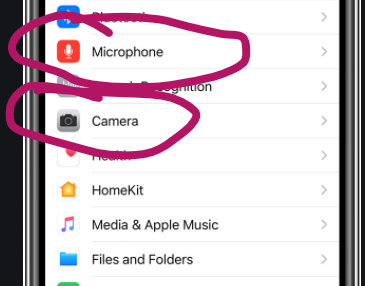
-Toggle Zoom access on (green).

-Verify the built-in camera and microphone work.
-Tap open the Camera app and the Camera should then display whatever is in front of the iPad.

-Tap open the Voice Memo app to record/test the built-in microphone.

-Record and hear back the audio you recorded.

-Any non-working Camera/microphone devices may be swapped out for a working one. The device must be labeled either “bad mic per guide 2B-SCHOOL-TICKET NUMBER OR “bad camera per guide 2B-SCHOOL-TICKET NUMBER (if applicable)” before sending to the Help Desk.
How do I know if the issue is Wifi or Zoom?
Zoom
- If Zoom crashes test the WiFi by opening a new tab and going to any website (ex: YouTube, CNN, LPS website, etc.)
- If the page loads then this means WiFi is working and there may be an issue with Zoom.
- Gather the following details to send to the LPS Help Desk email:
1. Date & time of the incident
2. Zoom meeting ID
3. What device(s) are being used? (provide the make and model)
4. Any relevant error message that pops up
WiFi
- If the pages do not load then this means there is an issue with the WiFi.
- Gather the following details to send to the LPS Help Desk email:
1. Date & time of the incident
2. What device(s) are being used? (provide the make and model)
3. Any relevant error message that pops up
4. Room number
- Please include at least ONE serial number from a student Chromebook that is experiencing an issue
- Please include the computer name of the LPS staff laptop that is experiencing into an issue.