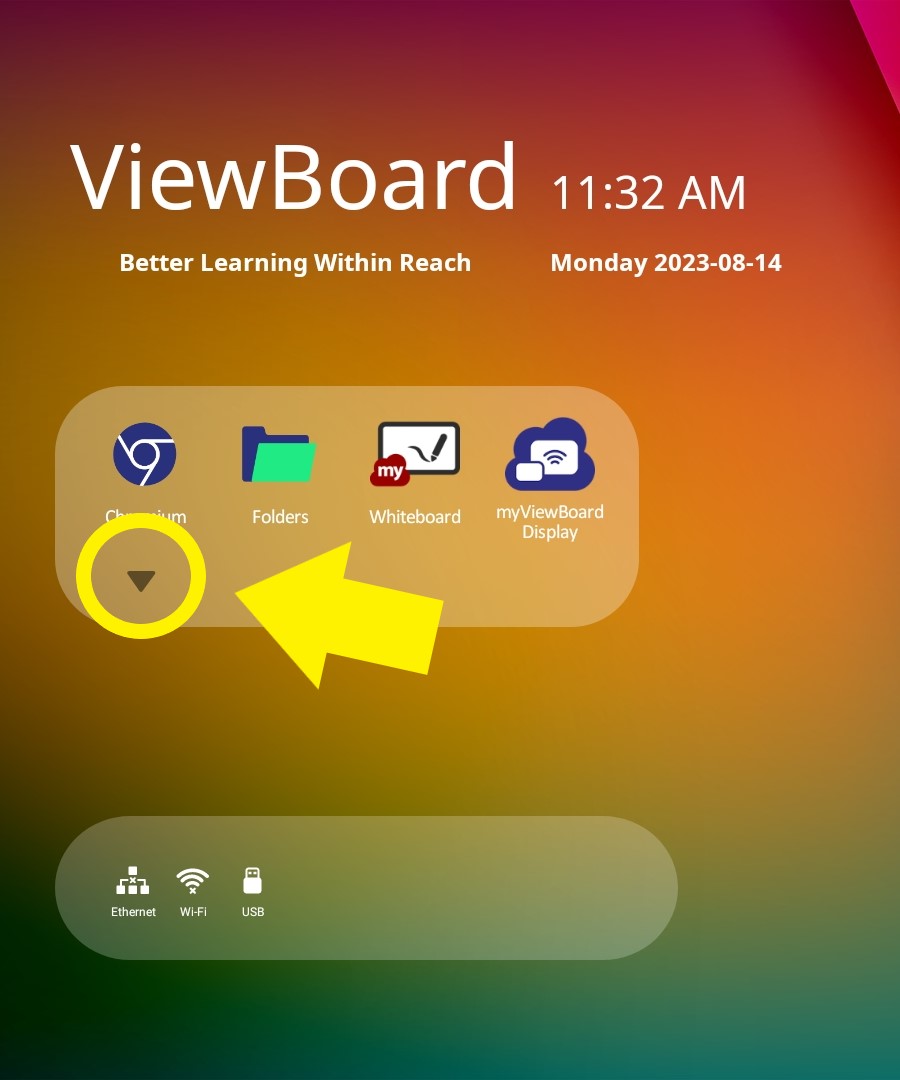
- Go to the home screen
- Tap the down arrow to view all the apps
- Tap on the Miracast app
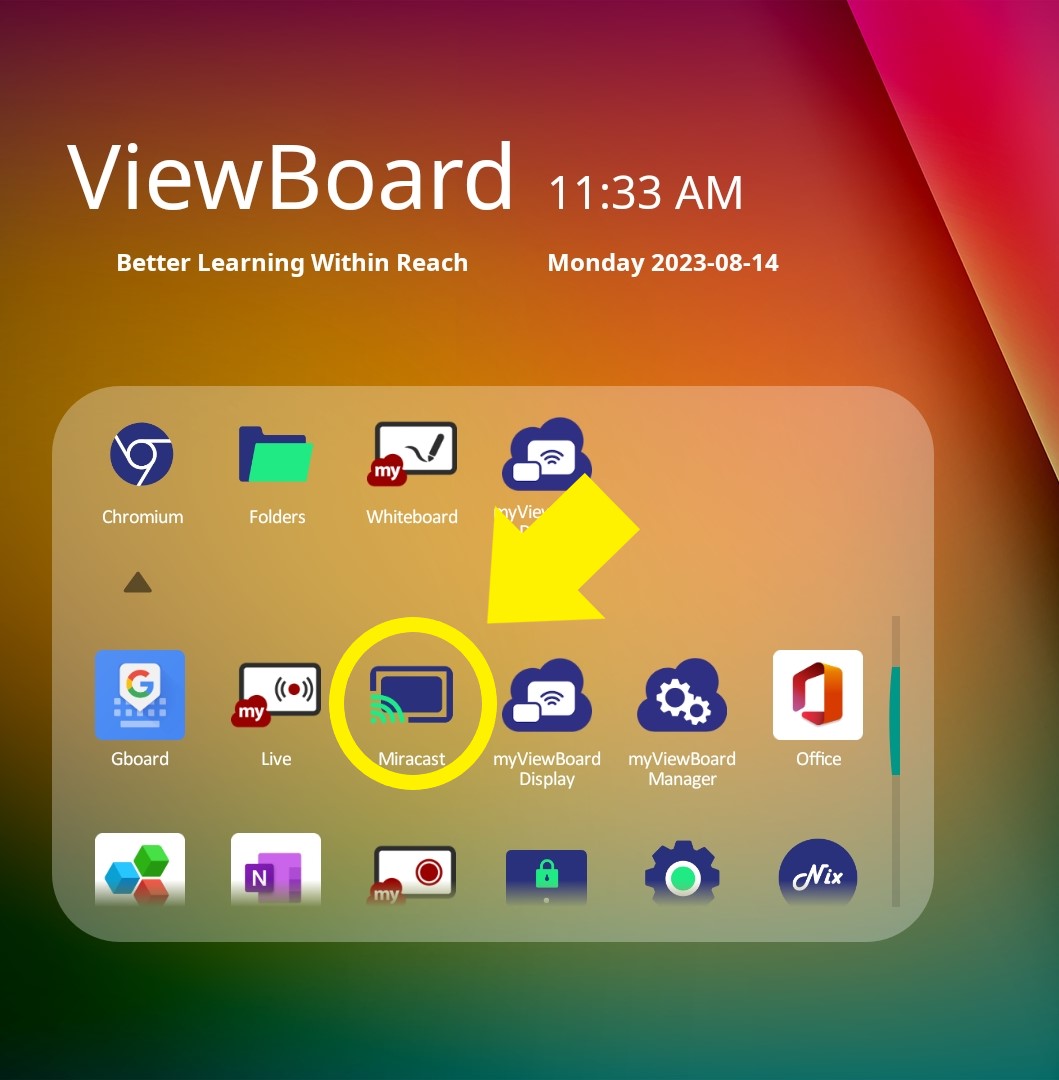
- The Miracast app window will appear
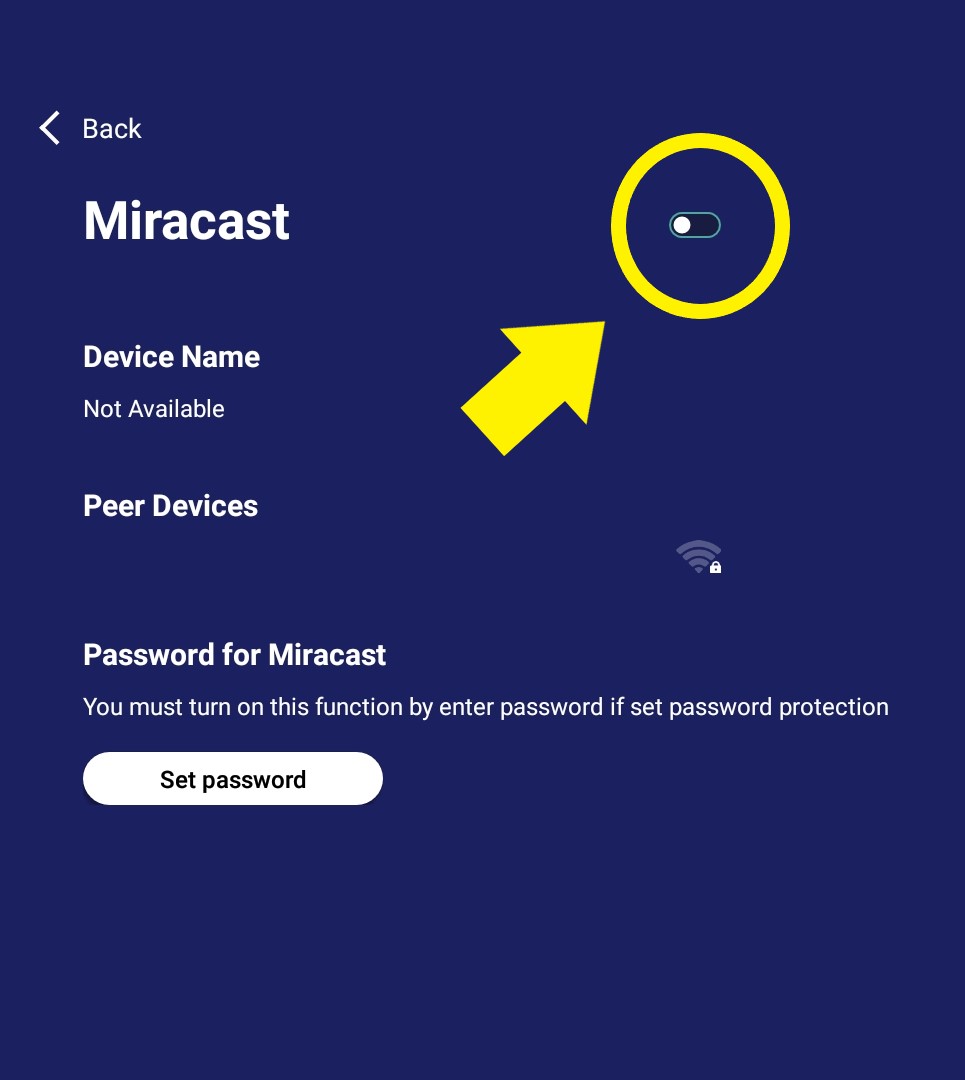
- Tap on the switch to the right of the word "Miracast" to turn on the mirroring feature
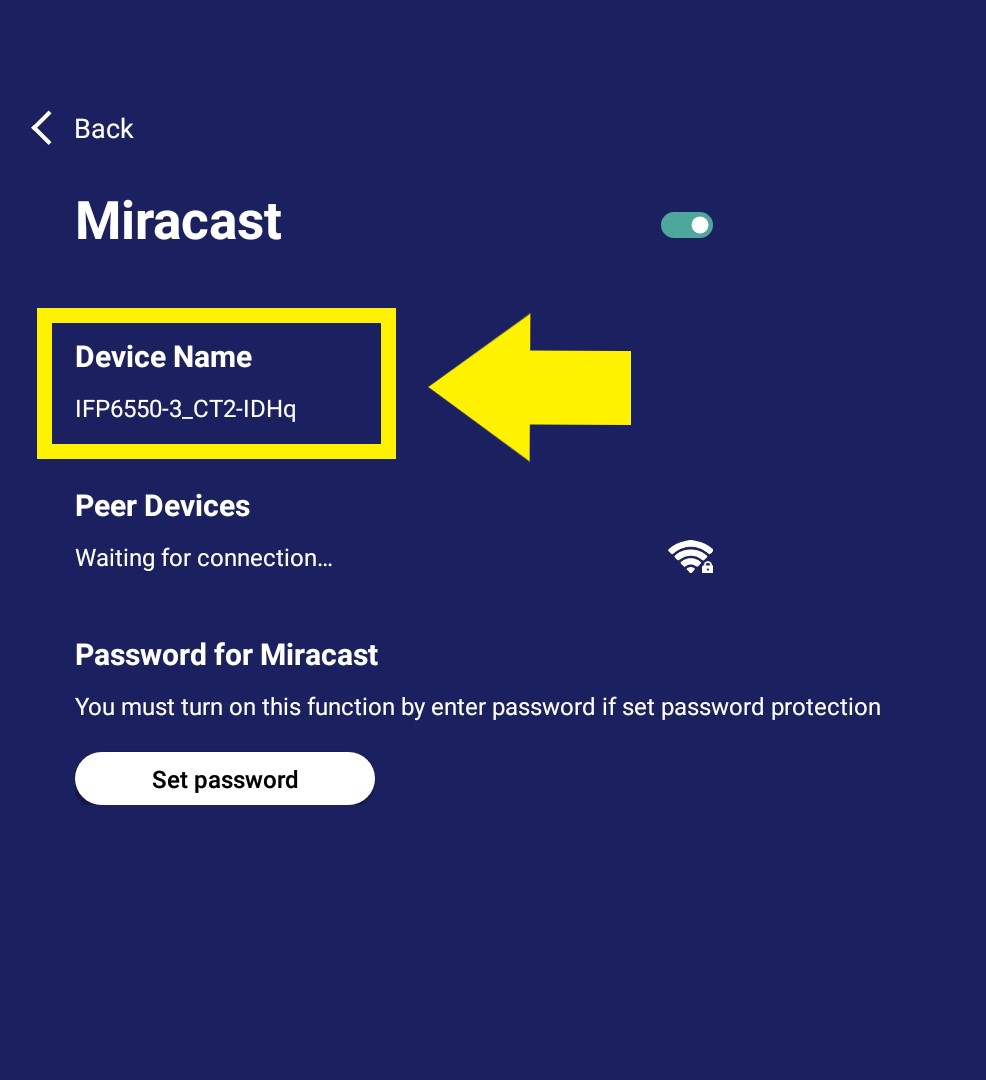
- Note the device name that appears under "Device Name". This is the name of the display you will connect to on your laptop
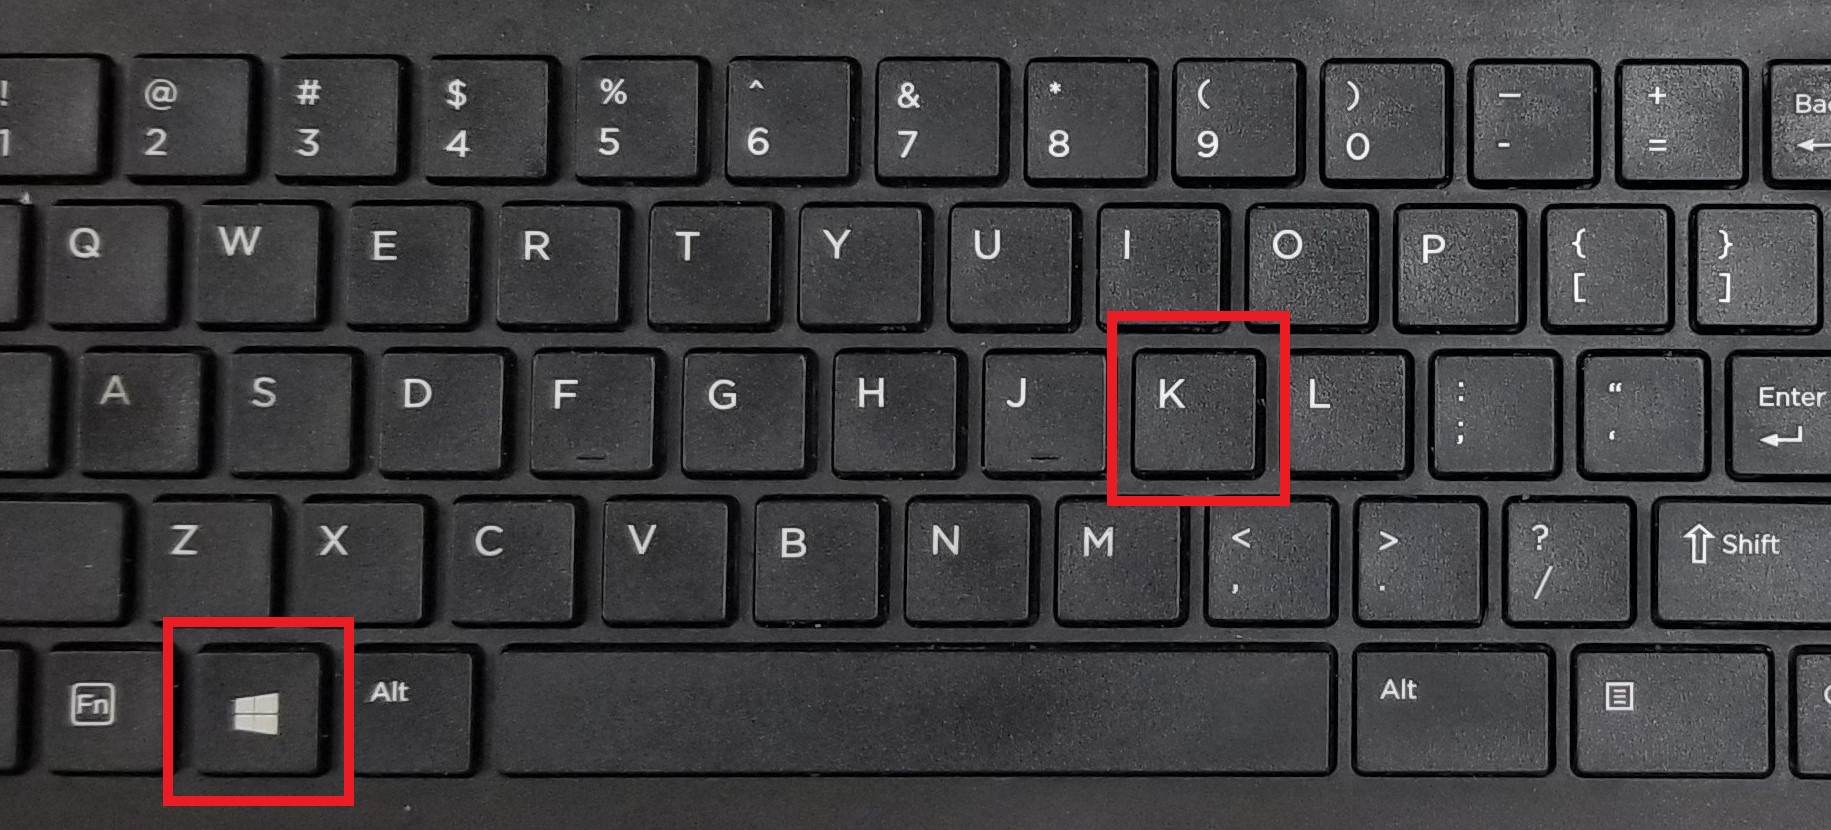
- On the windows laptop, press the Windows and K keys on the keyboard at the same time
- A side menu will appear on the right side of the screen
- Click on the display to connect to it. The display in the list will have the same name as the device name on physical display.

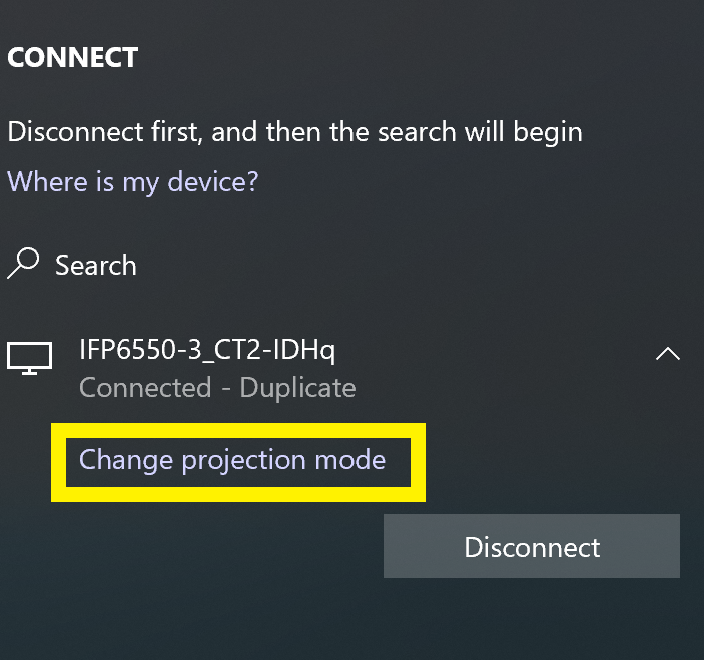
- Once connected, the status under the display you clicked on will change to "Connected".
- If needed you can change the way content is displayed by clicking "Change projection mode".
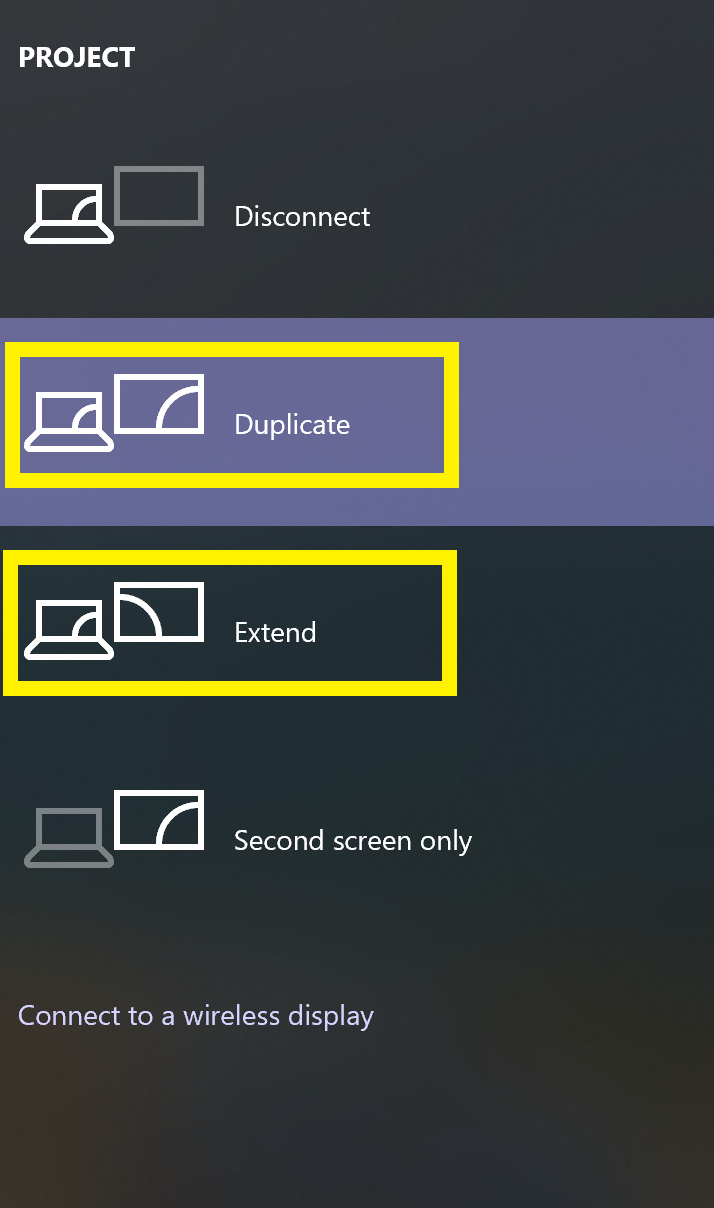
- You can select from either "Duplicate" or "Extend". Duplicate will mirror your laptop screen to the display. Extend will treat the display as a second monitor
A menu bar will also appear at the top of the screen. When you are finished with the session you can click "Disconnect" to stop sharing the laptop to the display.
![]()
Article ID: 1201
Created: August 14, 2023
Last Updated: August 18, 2023
Online URL: https://kb.lawrence.k12.ma.us/article.php?id=1201