How do I install MimioStudio on my computer?
The MimioStudio software is needed to access the features of the Mimio hardware you may have in your classroom (MimioView, MimioTeacher, MimioVote, etc.).
Table of Contents
Installing MimioStudio on LPS Windows computers
Opening Software Center and Locating MimioStudio
To install this software on district computers you will need to use the Software Center application. Please follow the directions below to install the MimioStudio software on district computers.
1. Click the Start button or search bar at the bottom left of the screen.
| Windows 7 Start Button | Windows 10 Start Button |
 |
 |
2. Type "Software Center" in the search box.
3. Search results will appear as you are typing, Click on the Software Center desktop app to open it.
| Software Center Icon |
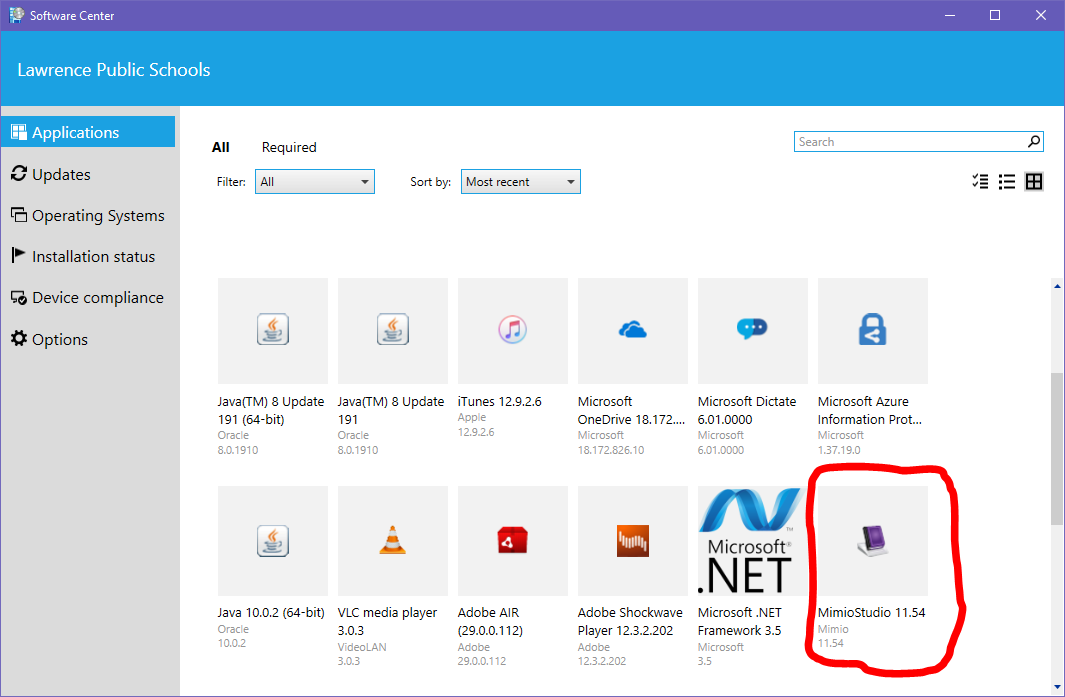
4. After window loads, locate and click on the MimioStudio application. Icon should look like a purple notebook.
| Software Center Window | MimioStudio Icon |
 |
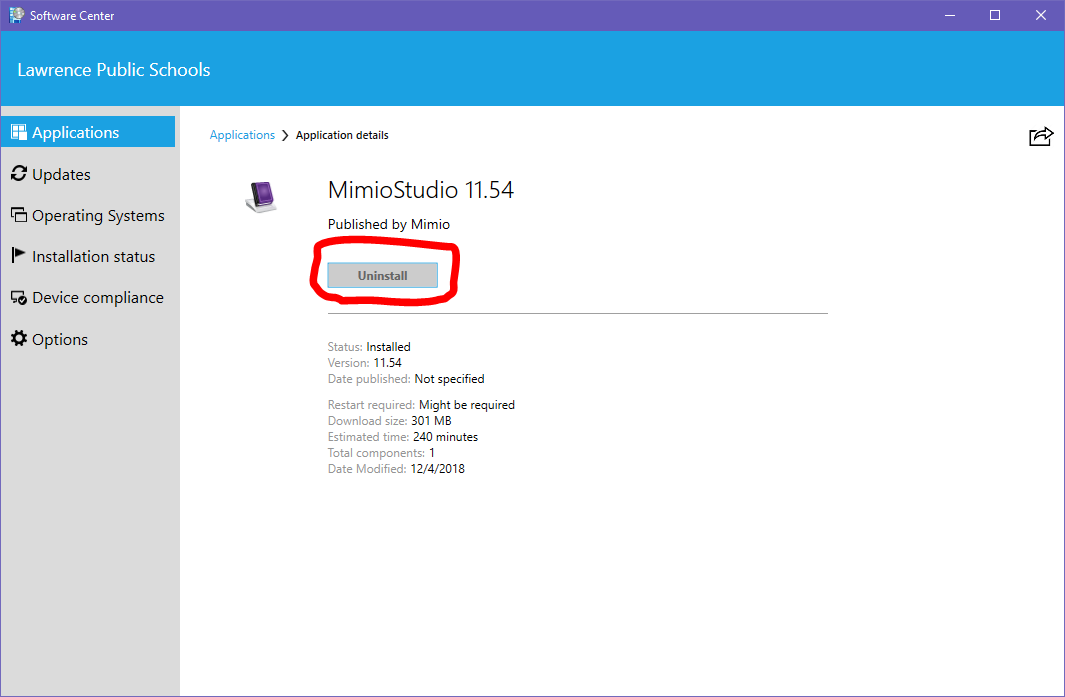
5. Click the Install button. Software may take more than an hour to install.
| MimioStudio Install Window |
 |
6. Restart computer after installation completes. Software will then be accessible from the desktop or start menu.
Installing MimioStudio on a personal device
The MimioStudio software can be installed on personal devices and activated by plugging in a Mimio device into your computer.
Installing MimioStudio on a Windows computer
1. Visit the MimioStudio download page.

2. Fill out the form on the page.
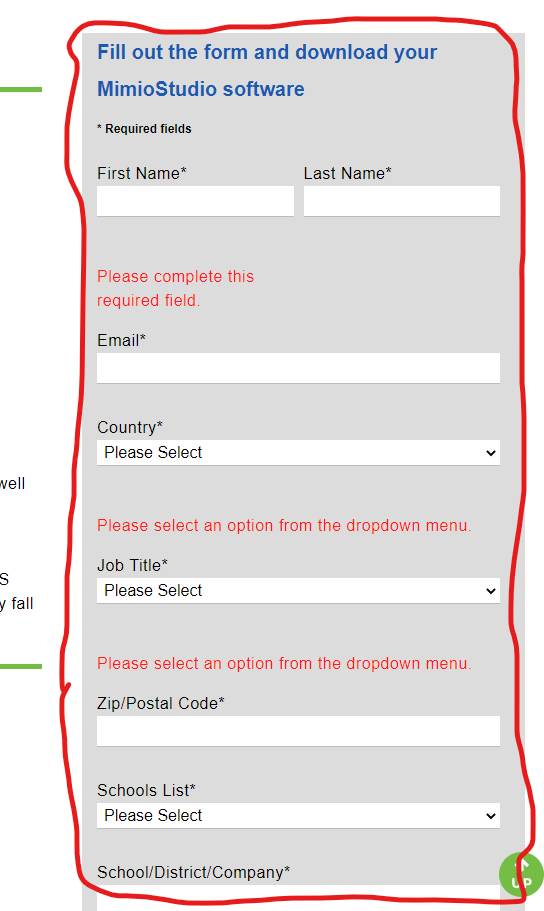
3. Click the button labelled "Download Now"

4. Upon clicking the download button you will be taken to the download page.
5. On the right sidebar click the button labelled either "English" under the "Windows" section. This will begin the download of the software.
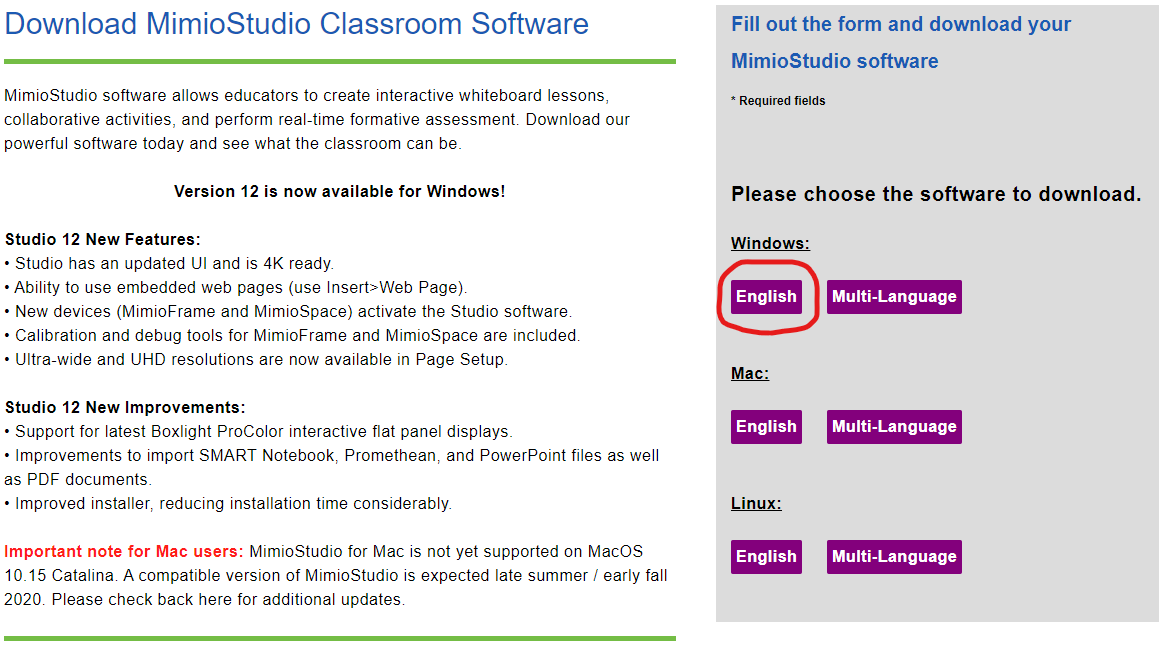
6 Wait for the download to finish.

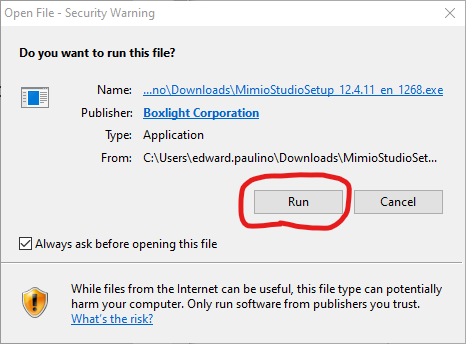
7. After the download finishes, locate the file and open it start the installation.
8. (Optional) If the Windows Security Warning window appears, click the button labelled "Run"
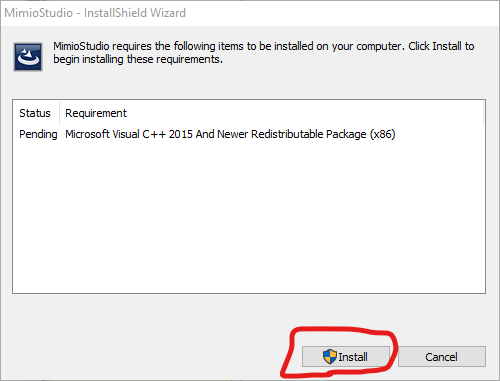
9. (Optional) On certain computers you may get a window asking to install required software. Click on the button labelled "Install" to install the required software. Your PC may reset in the process and you may also need to start the installation again after the restart.
10. Once the required software is installed or if none is required the MimioStudio installation will begin.
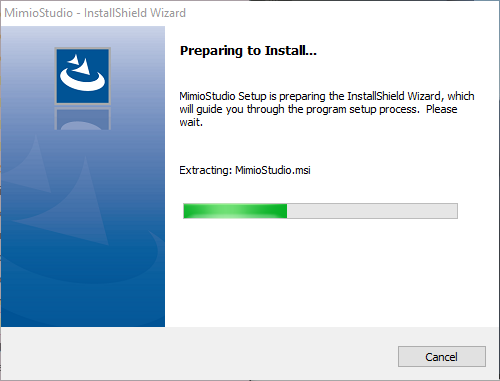
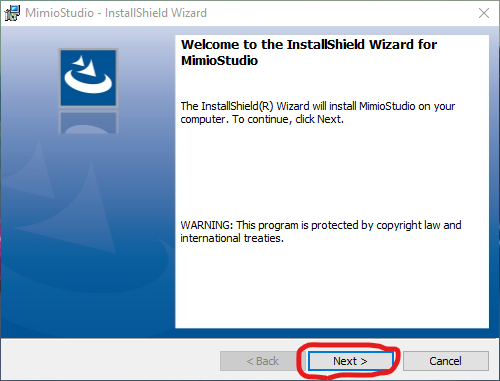
11. Click on the "Next" button
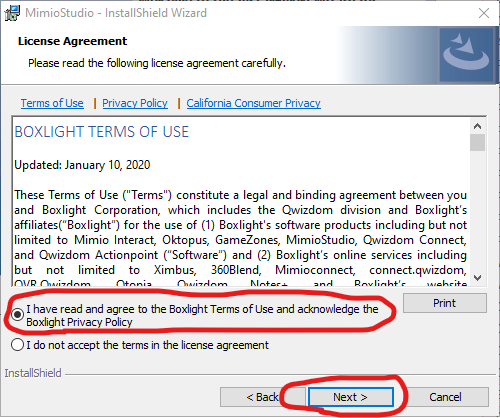
12. Accept the license agreement by clicking the option labelled "I have read and agree to the Boxlight…".
13. Click the "Next" button.
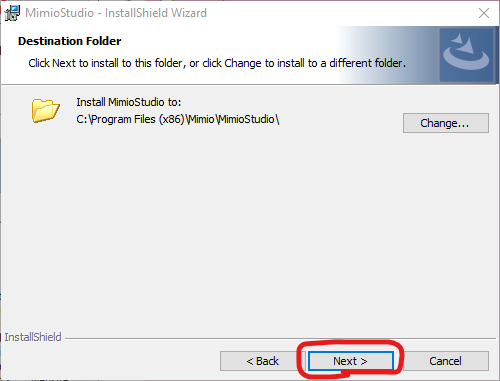
14. Click the "Next" button to install to the default location.
15. Click the "Install" button to begin the installation.
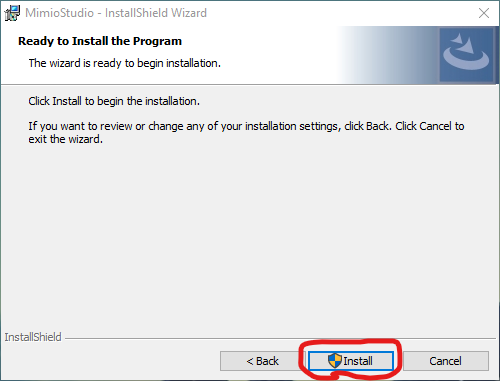
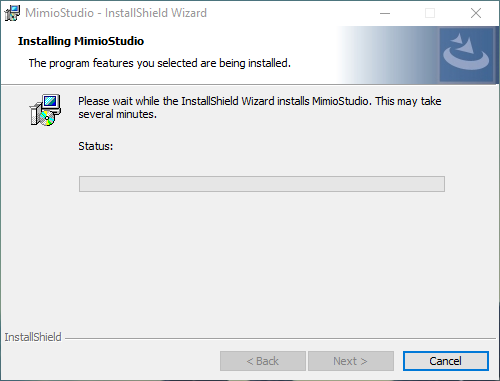
16. The software should install after a few minutes.
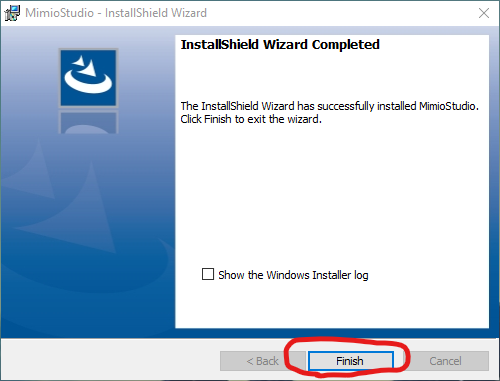
17. Click the "Finish" button to finish the installation. You may also need to restart your device after the installation to complete the process.
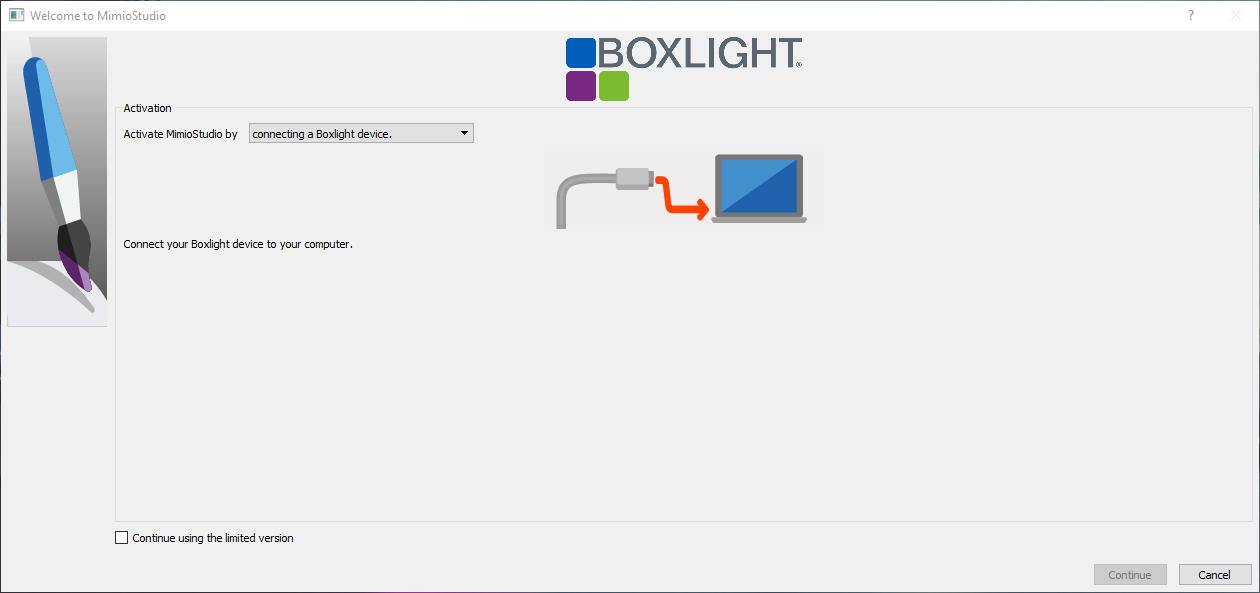
18. After opening the MimioStudio application for the first time you will see a window asking you to activate the software. For LPS staff, you can activate the software by plugging in an official Mimio device into your computer. Alternatively you can use the software in a limited version by clicking the checkbox labelled "Continue using limited version". However, certain features will be limited or disabled.
