How do I set up Multi-Factor Authentication?
Table of Contents
Setting up Multi-Factor Authentication
1. Log in to any LPS service (Email, Clever, PowerSchool) or visit the MFA Setup page.
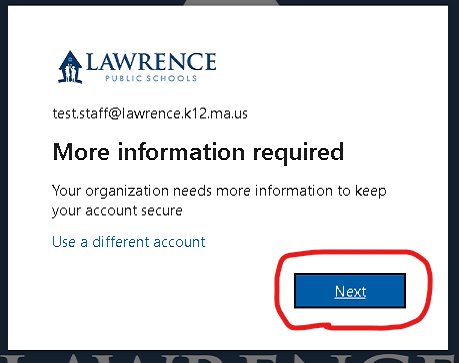
2. You will be prompted with a screen stating "More information required".
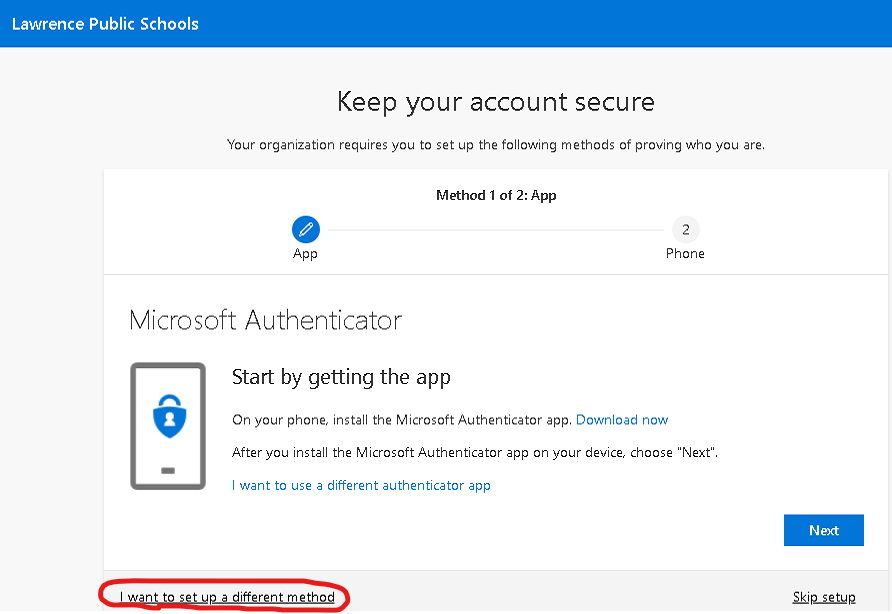
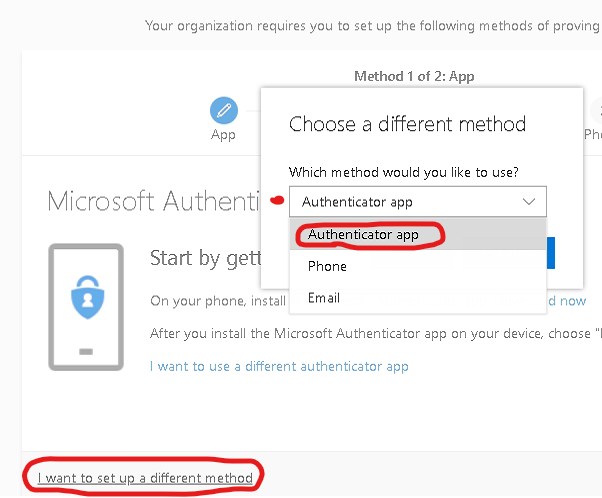
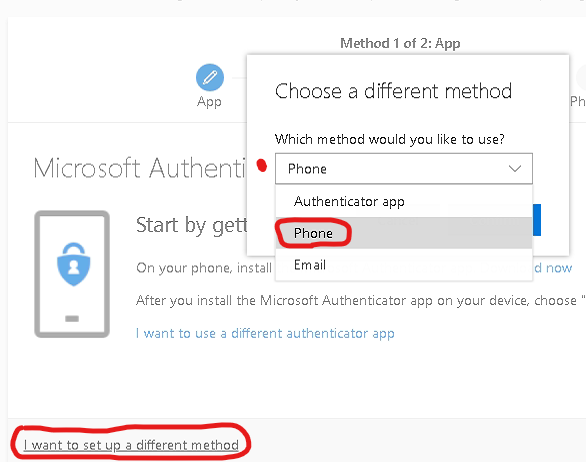
3. You will then be taken to the MFA set up screen. By default, clicking Next will take you to the Microsoft Authenticator app set up. However, you can also choose other methods by clicking "I want to set up a different method". Follow the directions in the sections below to set up the different methods.
Microsoft Authenticator App Method
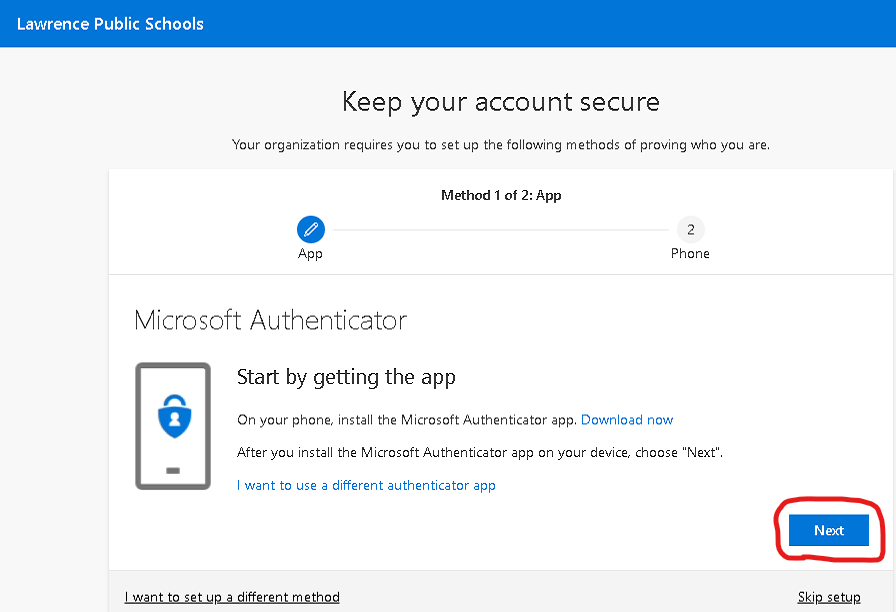
1. Download the Microsoft Authenticator app on to your mobile device.
2. After you have installed and set up the app on your mobile device, go back to the Multi-Factor Authentication screen. By default it should say "Microsoft Authenticator" on the page.
3. (Optional) If the page does not say "Microsoft Authenticator" you can select the method by clicking "I want to use a different method" on the bottom-left of the page, then selecting "Authenticator app" from the drop-down list.
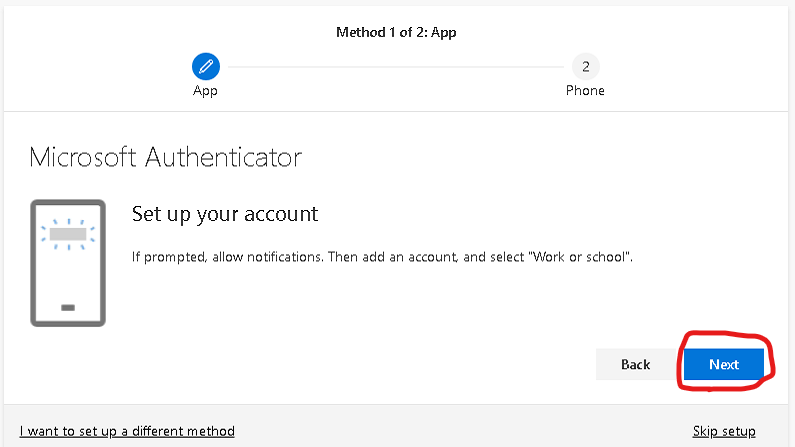
4. Follow the directions on the screen, then click the Next button.
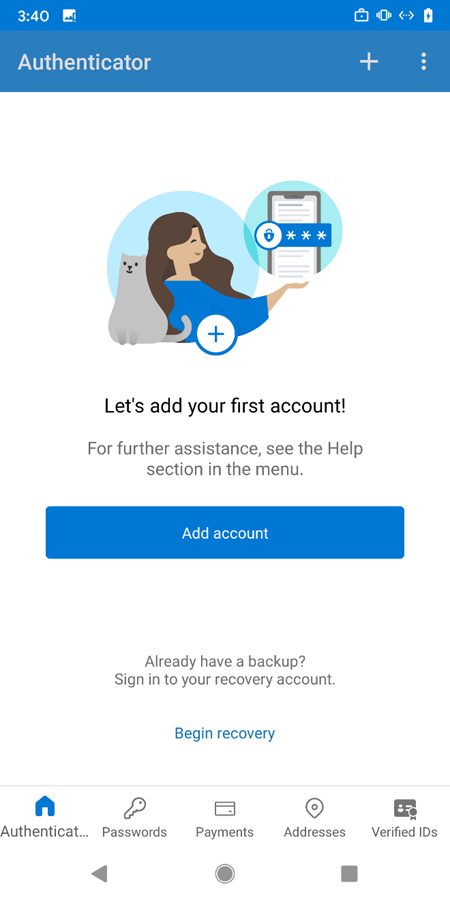
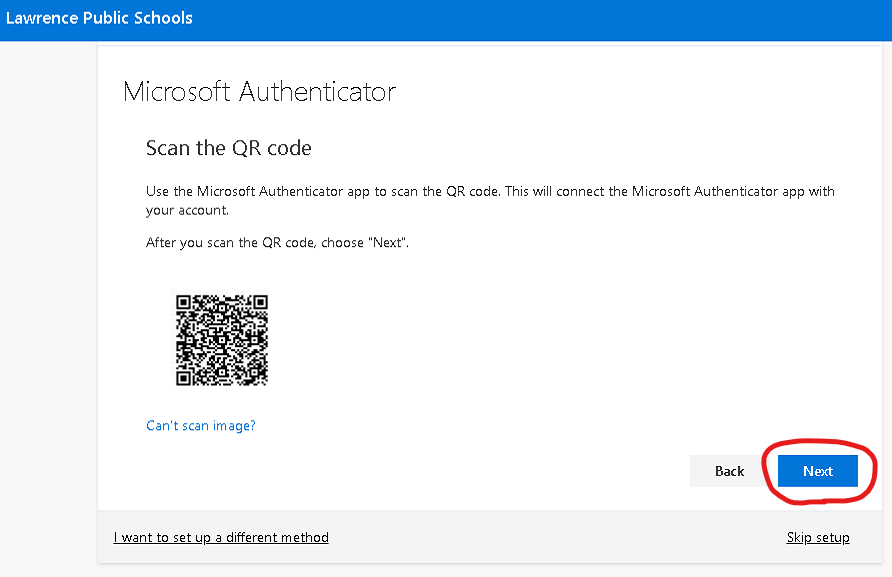
5. On your mobile device, open the Microsoft Authenticator app and add your LPS account. You will be able to either scan the QR code you will see on the page or enter the information manually into your device by clicking "Can't scan image?".
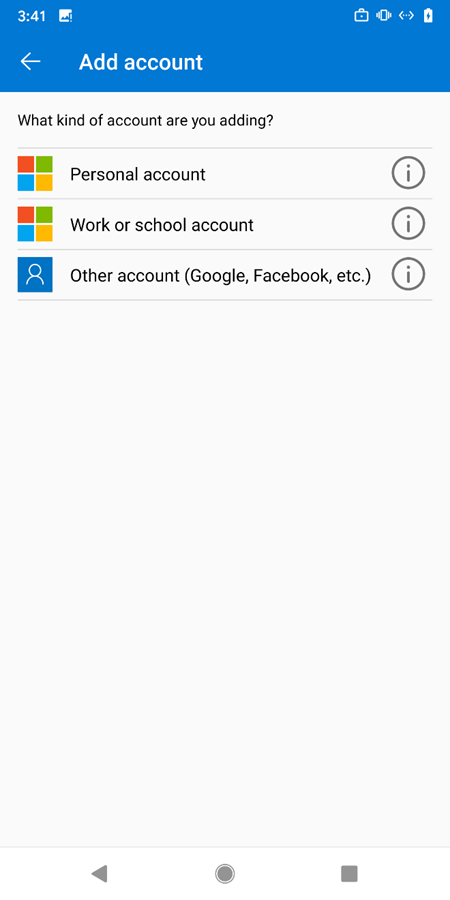
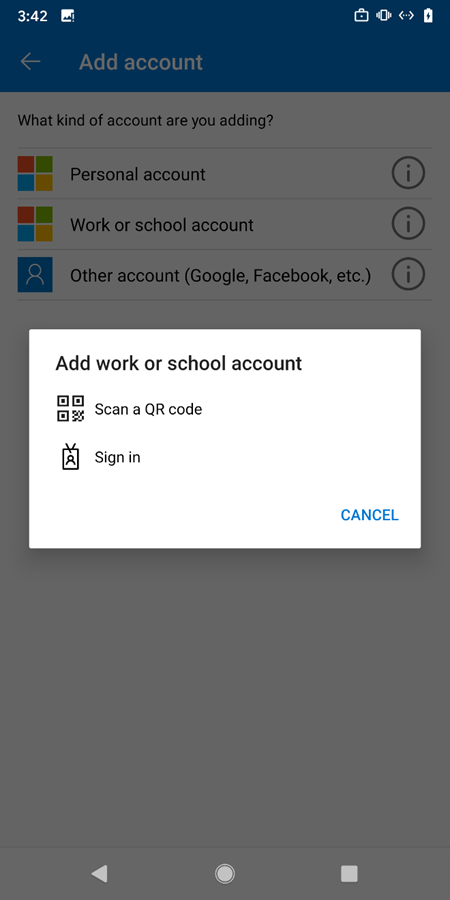
6. Select Work or school account.
7. You will be able to either scan the QR code you will see on the page or enter the information manually into your device by clicking "Can't scan image?".
8. Click the Next button after you have added the account/scanned the QR Code to continue.
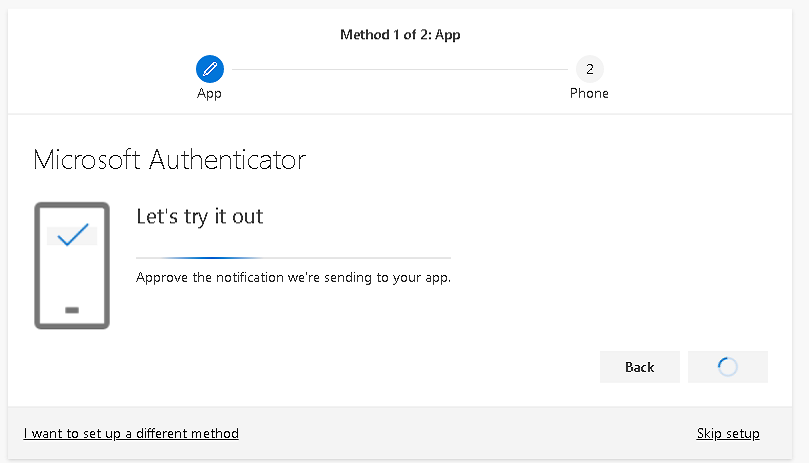
9. You should receive a notification on your mobile device. Approve the sign-in notification on the Microsoft Authenticator app to continue.
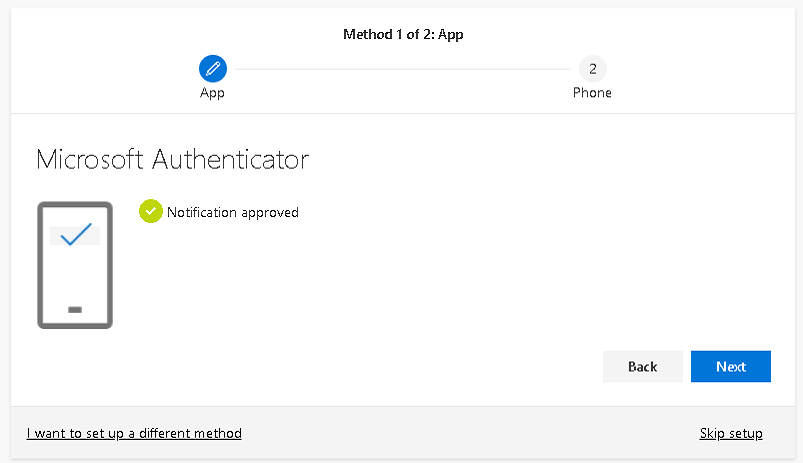
10. Once you have approved the notification on your mobile device the page will update to show that you have successfully added the Microsoft Authenticator method to your LPS account.
11. Click the Next button to finish this process.
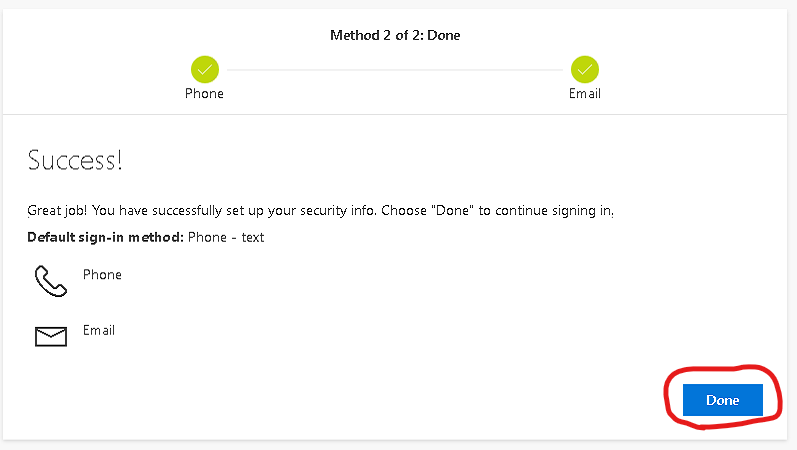
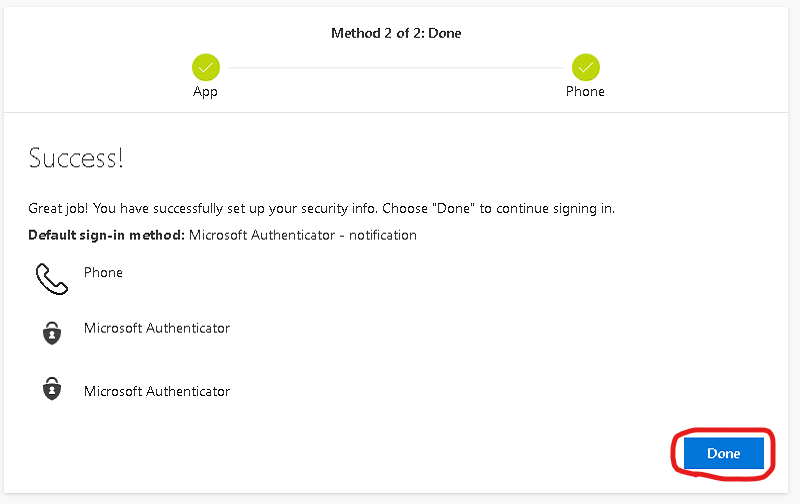
12. (Optional) If you have added two authentication methods you will see a page with a summary of what was set up. You can click Done to finish and continue signing in.
Phone Number Authentication Method
1. (Optional) After setting up the Microsoft Authenticator method you may automatically be taken to the Phone method screen. You can also access this screen at the beginning by clicking "I want to set up a different method" at the bottom-left of the page, then clicking Phone from the drop-down list.
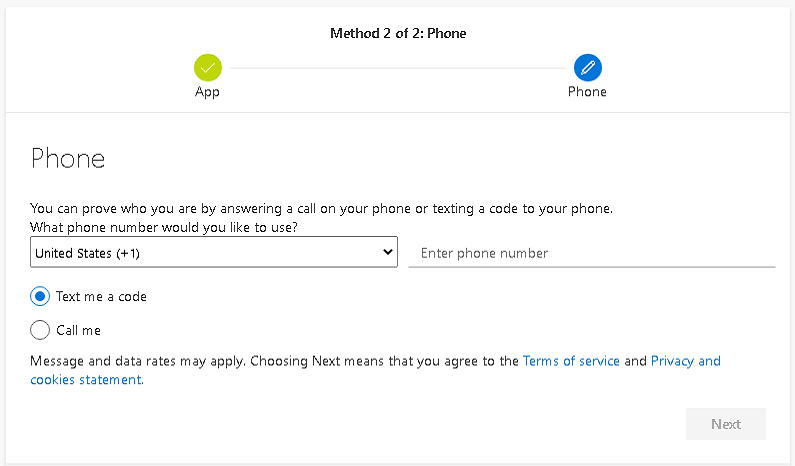
2. At the phone method page, enter your phone number and whether you would like to verify by text or a phone call.
3. After entering your phone number, click the Next button to continue.
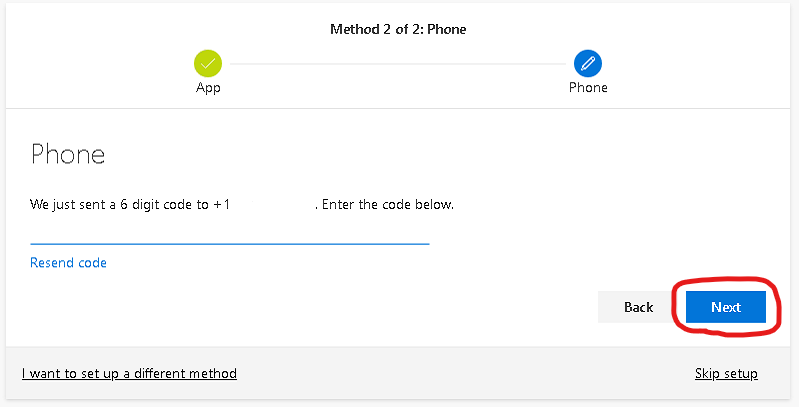
4. You will either have a code sent to your phone if you selected "Text me a code" or will receive a phone call with the code if you selected "Call me"
5. Enter the code you received into the page. You may click on "Resend code" if you did not receive a code or the previous code expired.
6. Click the Next button to continue.
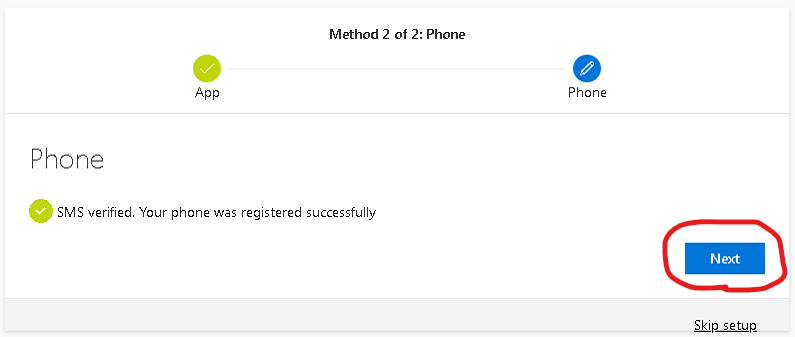
7. Once you have entered the code the page will show that you have successfully added the phone authentication method to your LPS account.
8. Click the Next button to finish the process.
9. (Optional) If you have added two authentication methods you will see a page with a summary of what was set up. You can click Done to finish and continue signing in.
Email Authentication Method
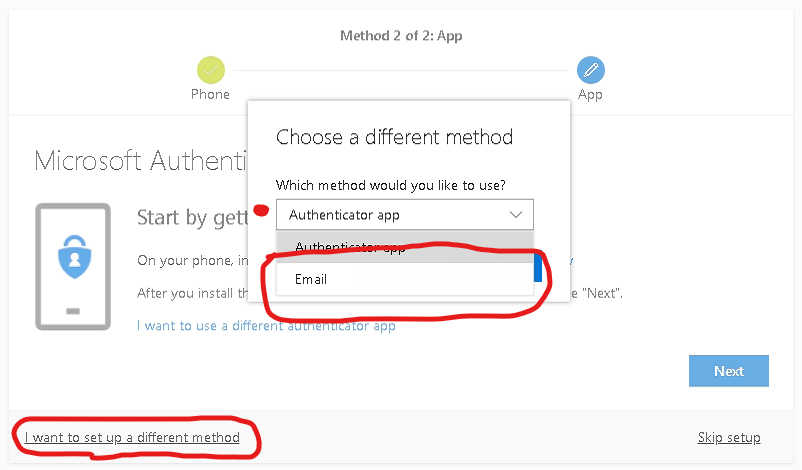
1. Click on the link labelled "I want to set up a different method", then select Email from the drop-down list.
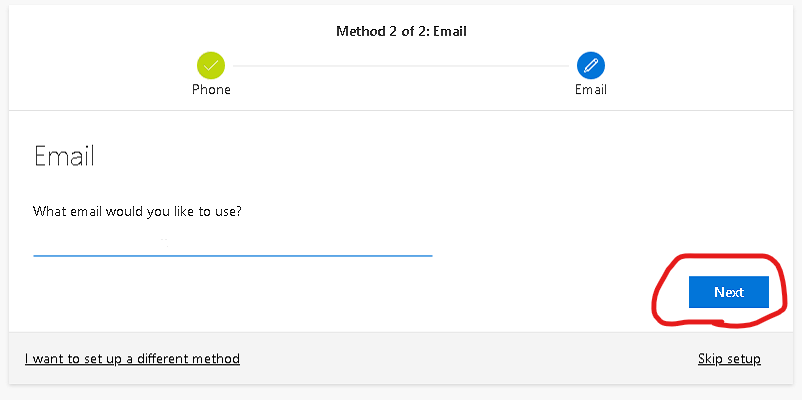
2. At the Email method page, enter your personal email address, then click the Next button.
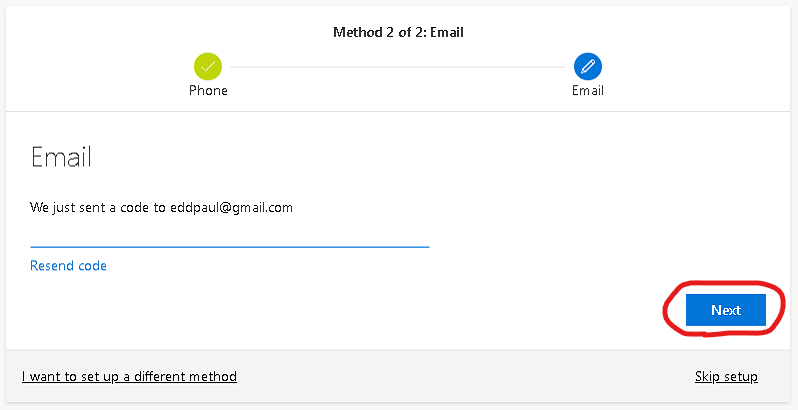
3. You will be sent an account email verification code to your email address. Enter the code you received from your email.
4. Click the Next button to finish the process.
5. (Optional) If you have added two authentication methods you will see a page with a summary of what was set up. You can click Done to finish and continue signing in.