How do I install PaperCut on my laptop? (Guests)
PaperCut is installed automatically on all LPS Macbooks. Currently this is not automatic for LPS Windows laptops.
Alternatively, guests have the ability to install PaperCut on their Windows or Mac laptops. This feature is not supported on iOS, Android and Chromebook devices.
Table of Contents
Windows Install
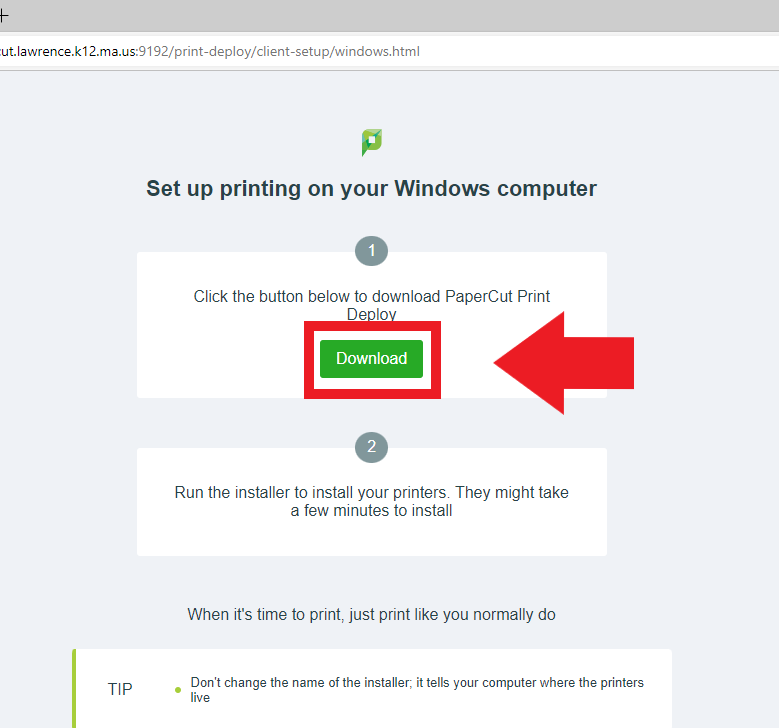
1 - Go to the install page at: https://lps-papercut.lawrence.k12.ma.us:9192/print-deploy/client-setup/windows.html
2 - Click the "Download" button under step 1 to download the application
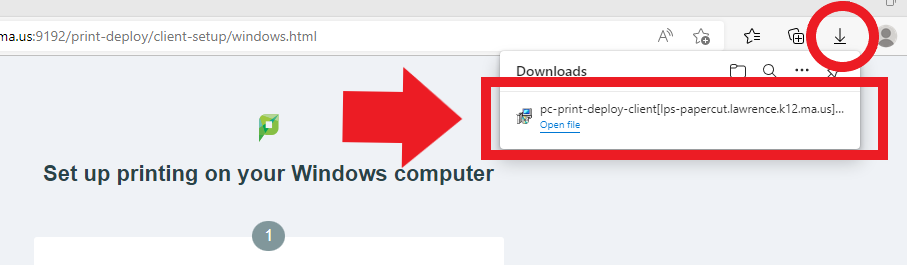
3 - Locate the downloaded application and open it to start the setup process
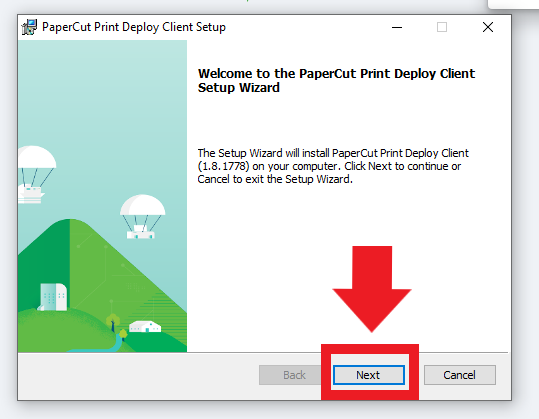
4 - The setup window will appear, click the "Next" button to start the installation
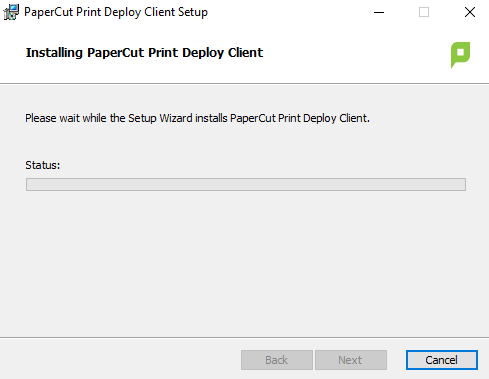
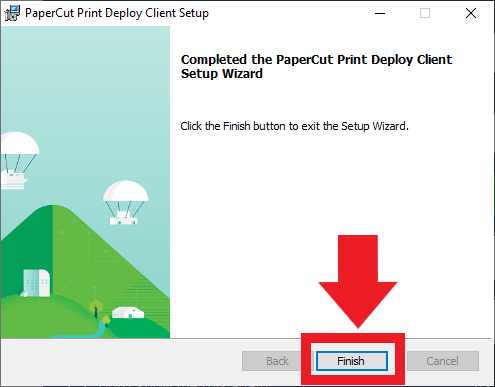
5 - Setup should take a moment. Once complete click on the "Finish" button to finish the setup
 |
 |
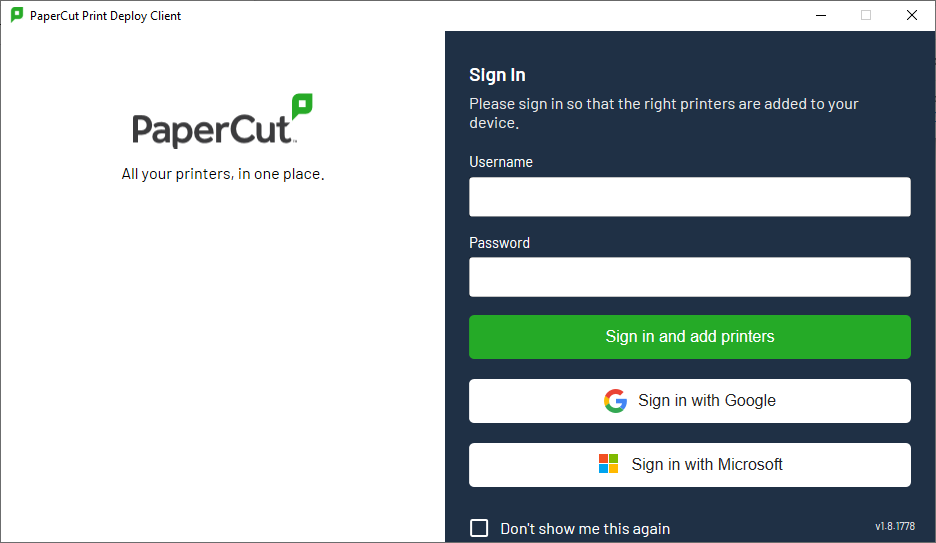
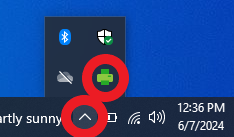
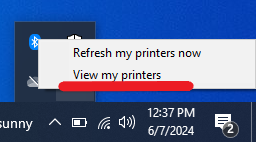
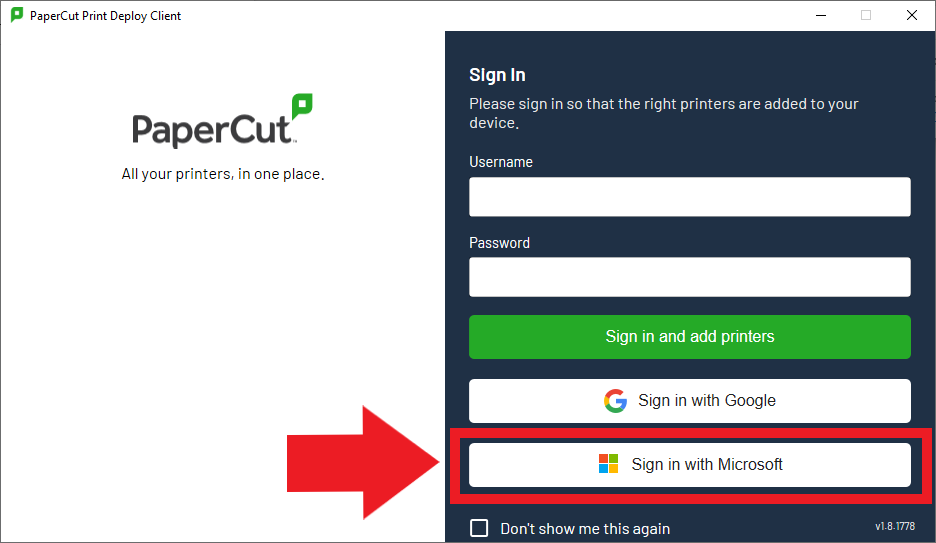
6 - The PaperCut log in window should appear after installation. If the log in window does not appear it can be opened by right-clicking on the green PaperCut icon in the bottom-right system tray and choosing "View my printers"
 |
|
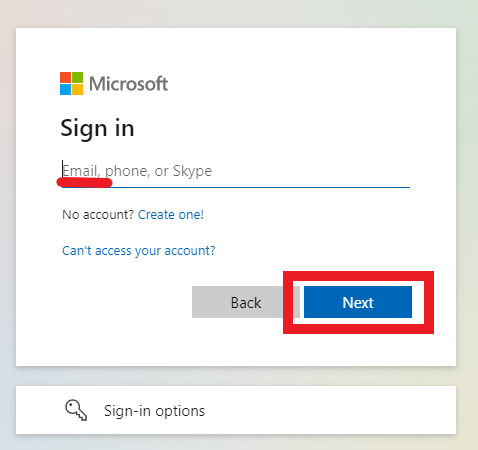
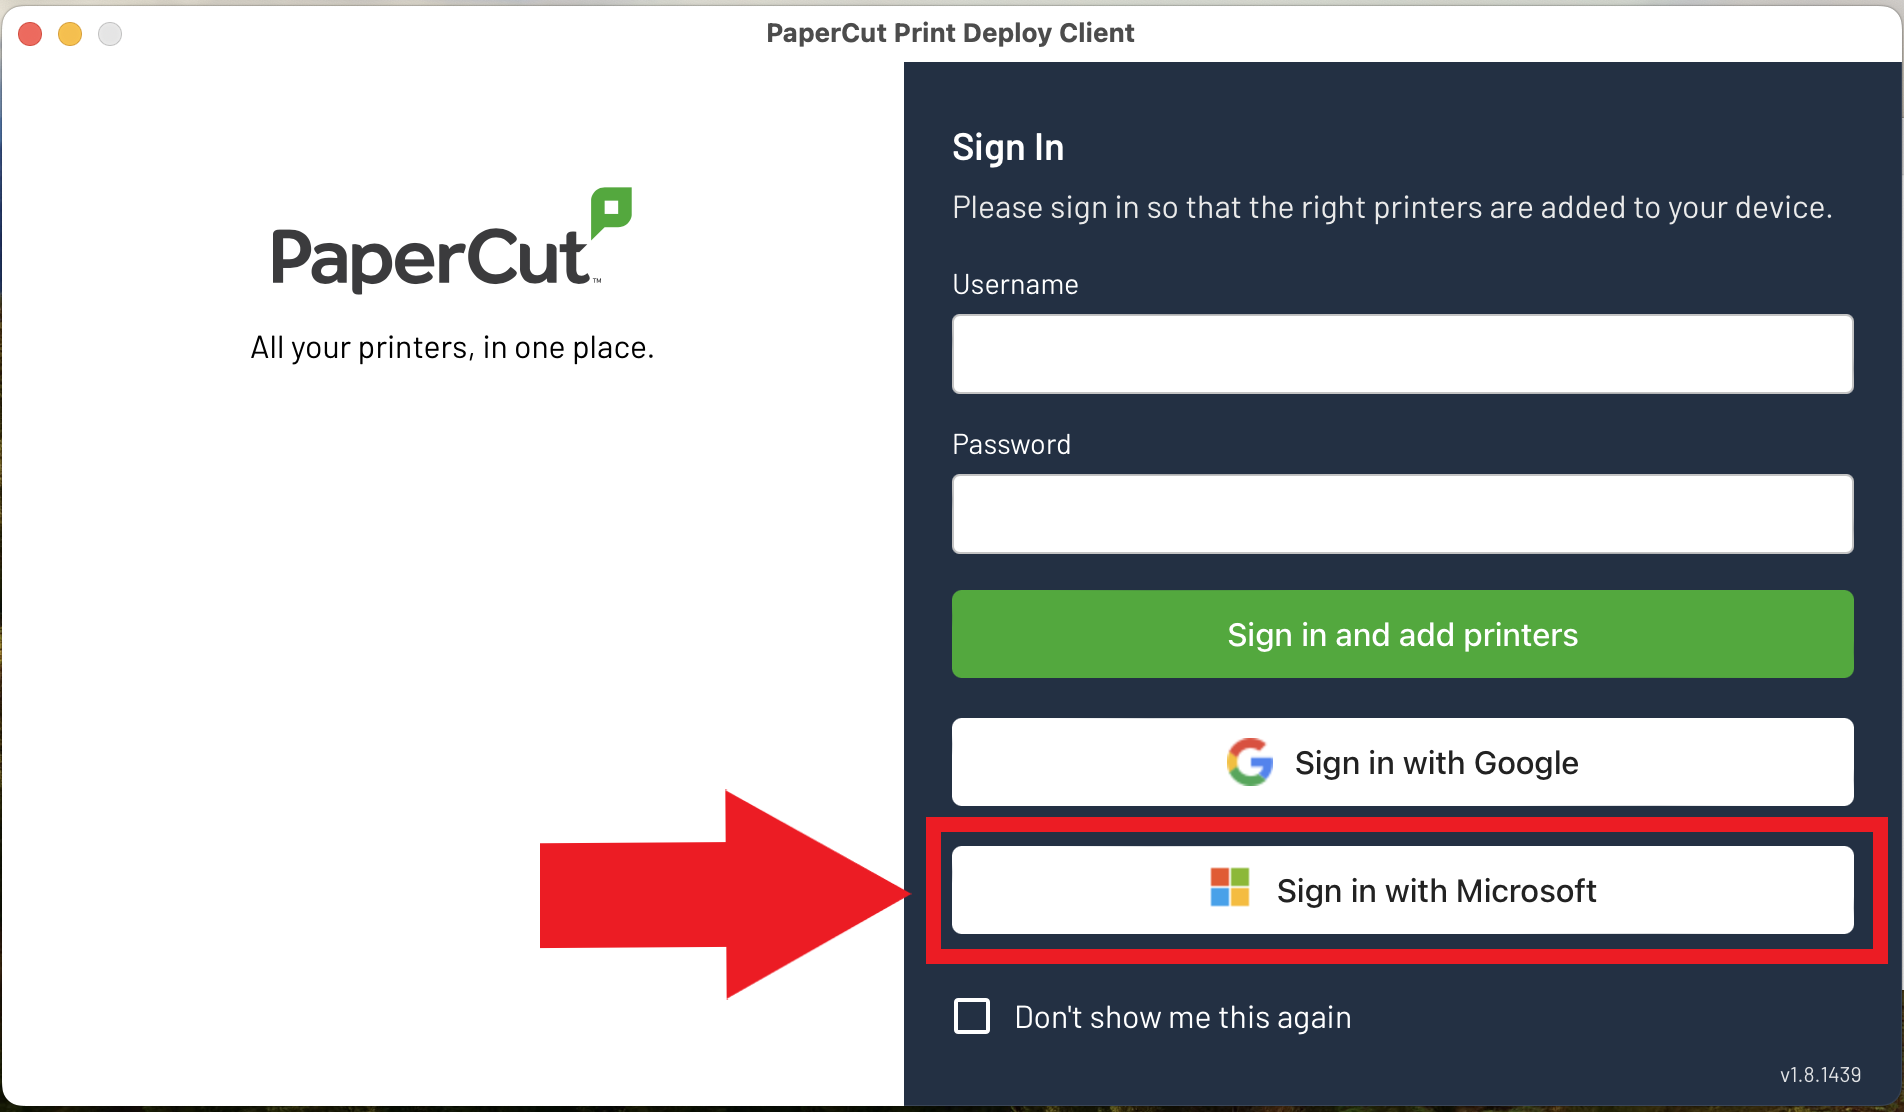
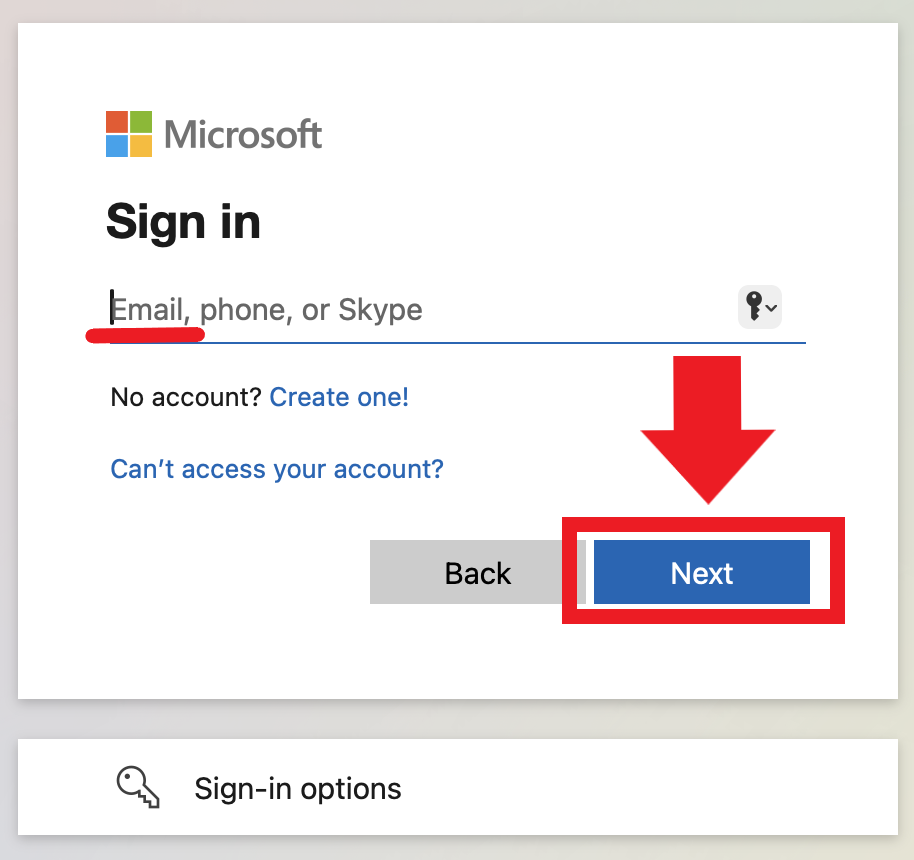
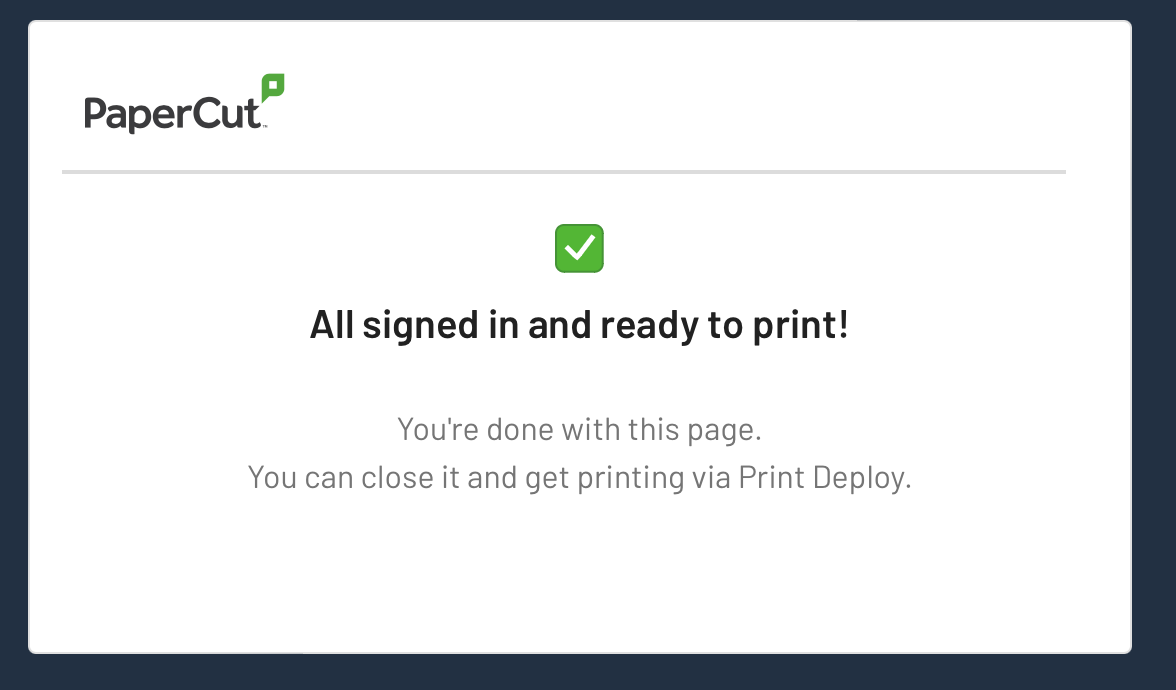
7 - Click on the "Sign in with Microsoft" button, another log in window will appear. Log in using your LPS account email and password. Page can be closed after logging in
 |
|
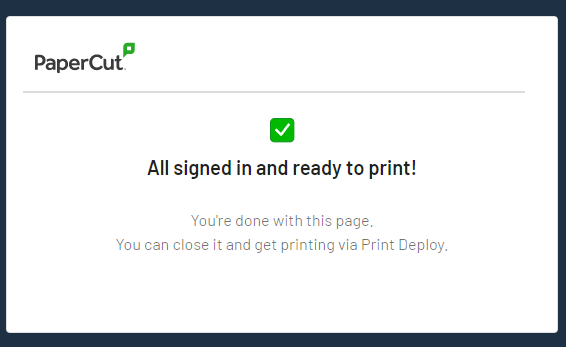
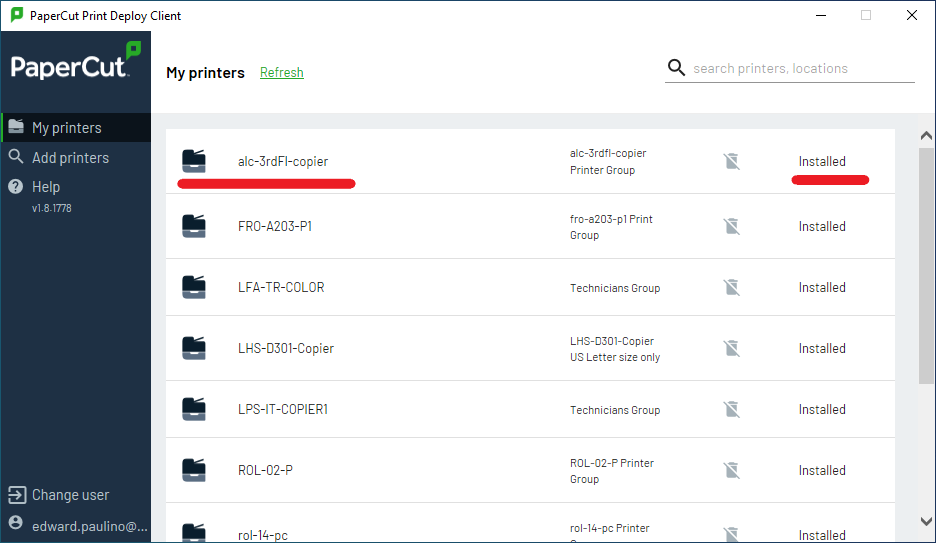
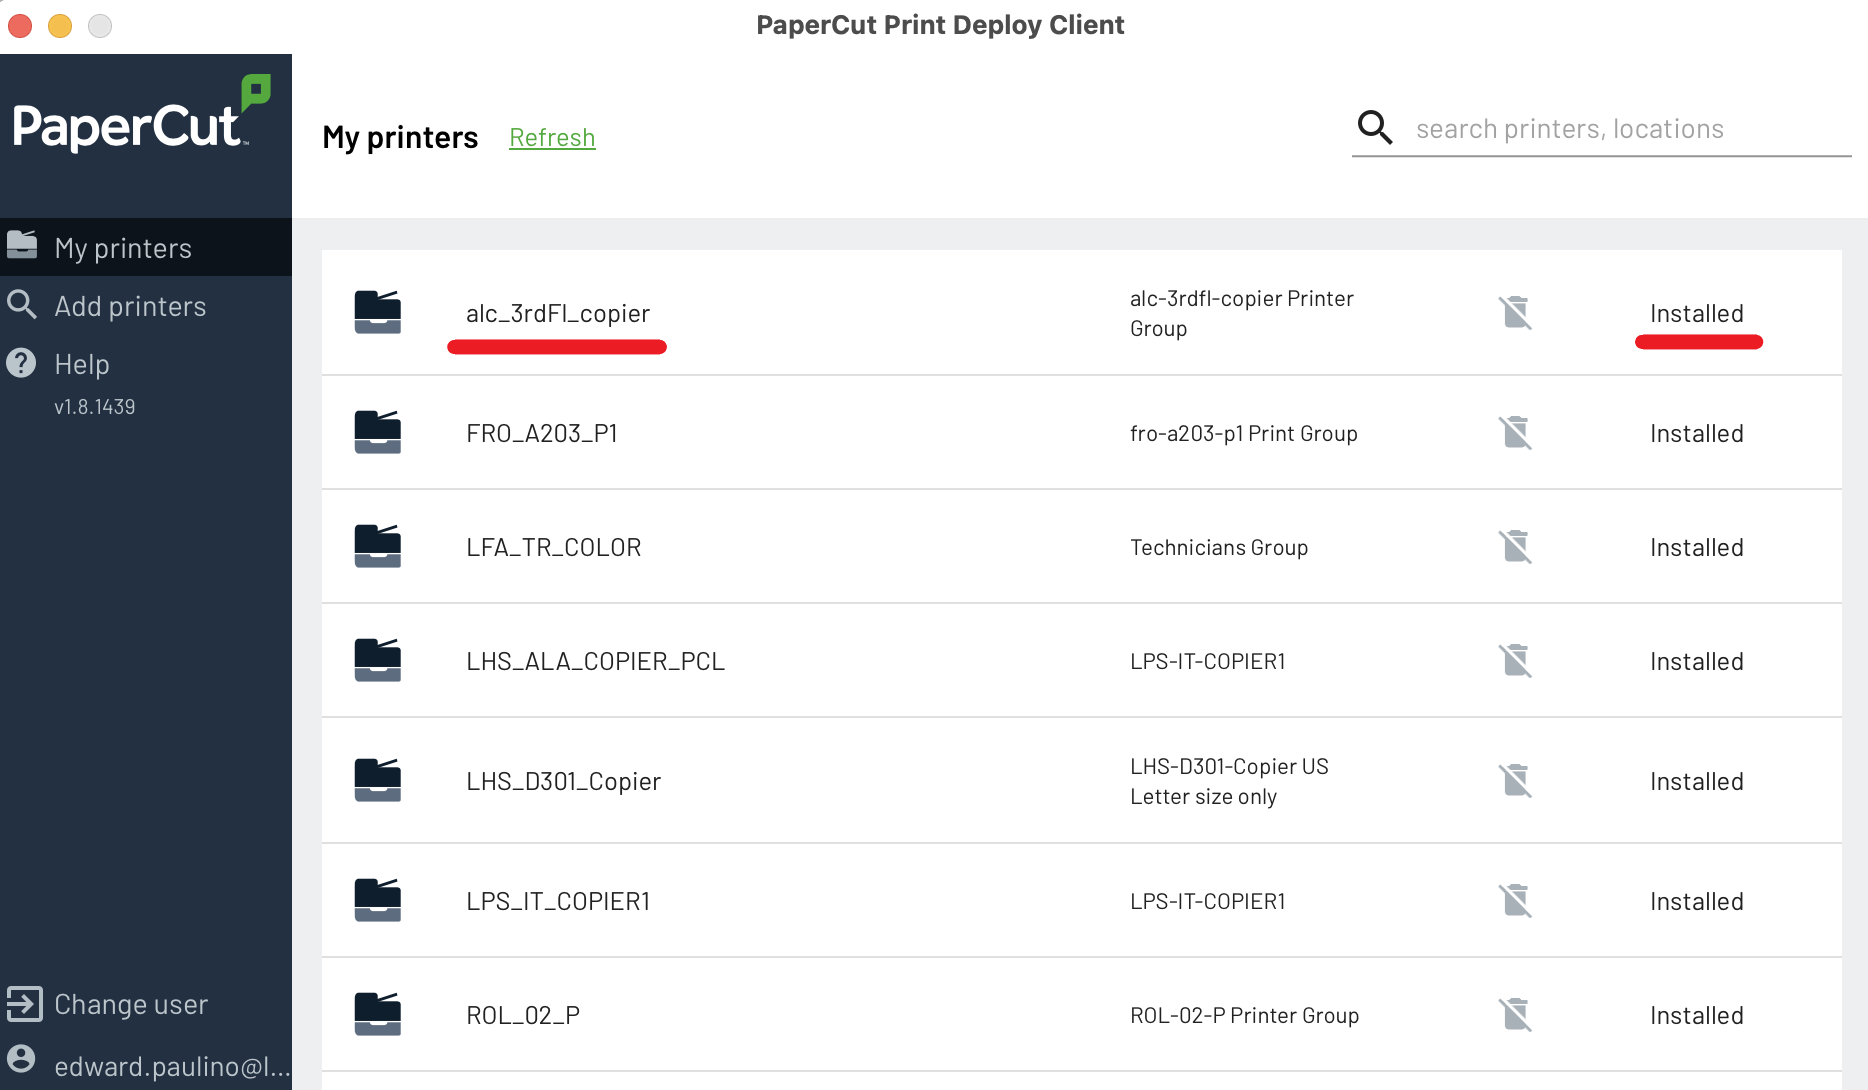
8 - Once logged in you will see any printers that have been added to your account. Printers will also be auto-installed so no extra work will be needed
 |
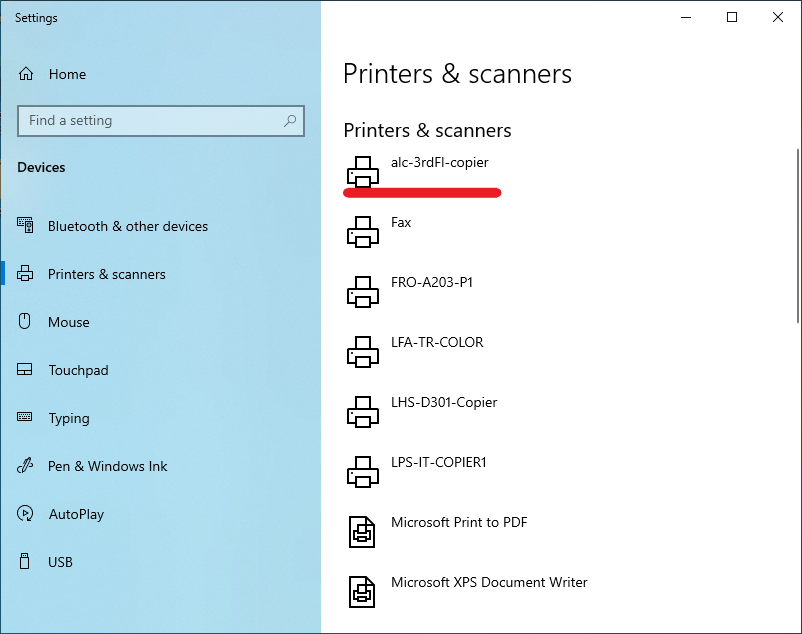 |
9 - You can now print as you normally do to any printer. Printer will appear in the system with the same name that appears on PaperCut
Mac Install
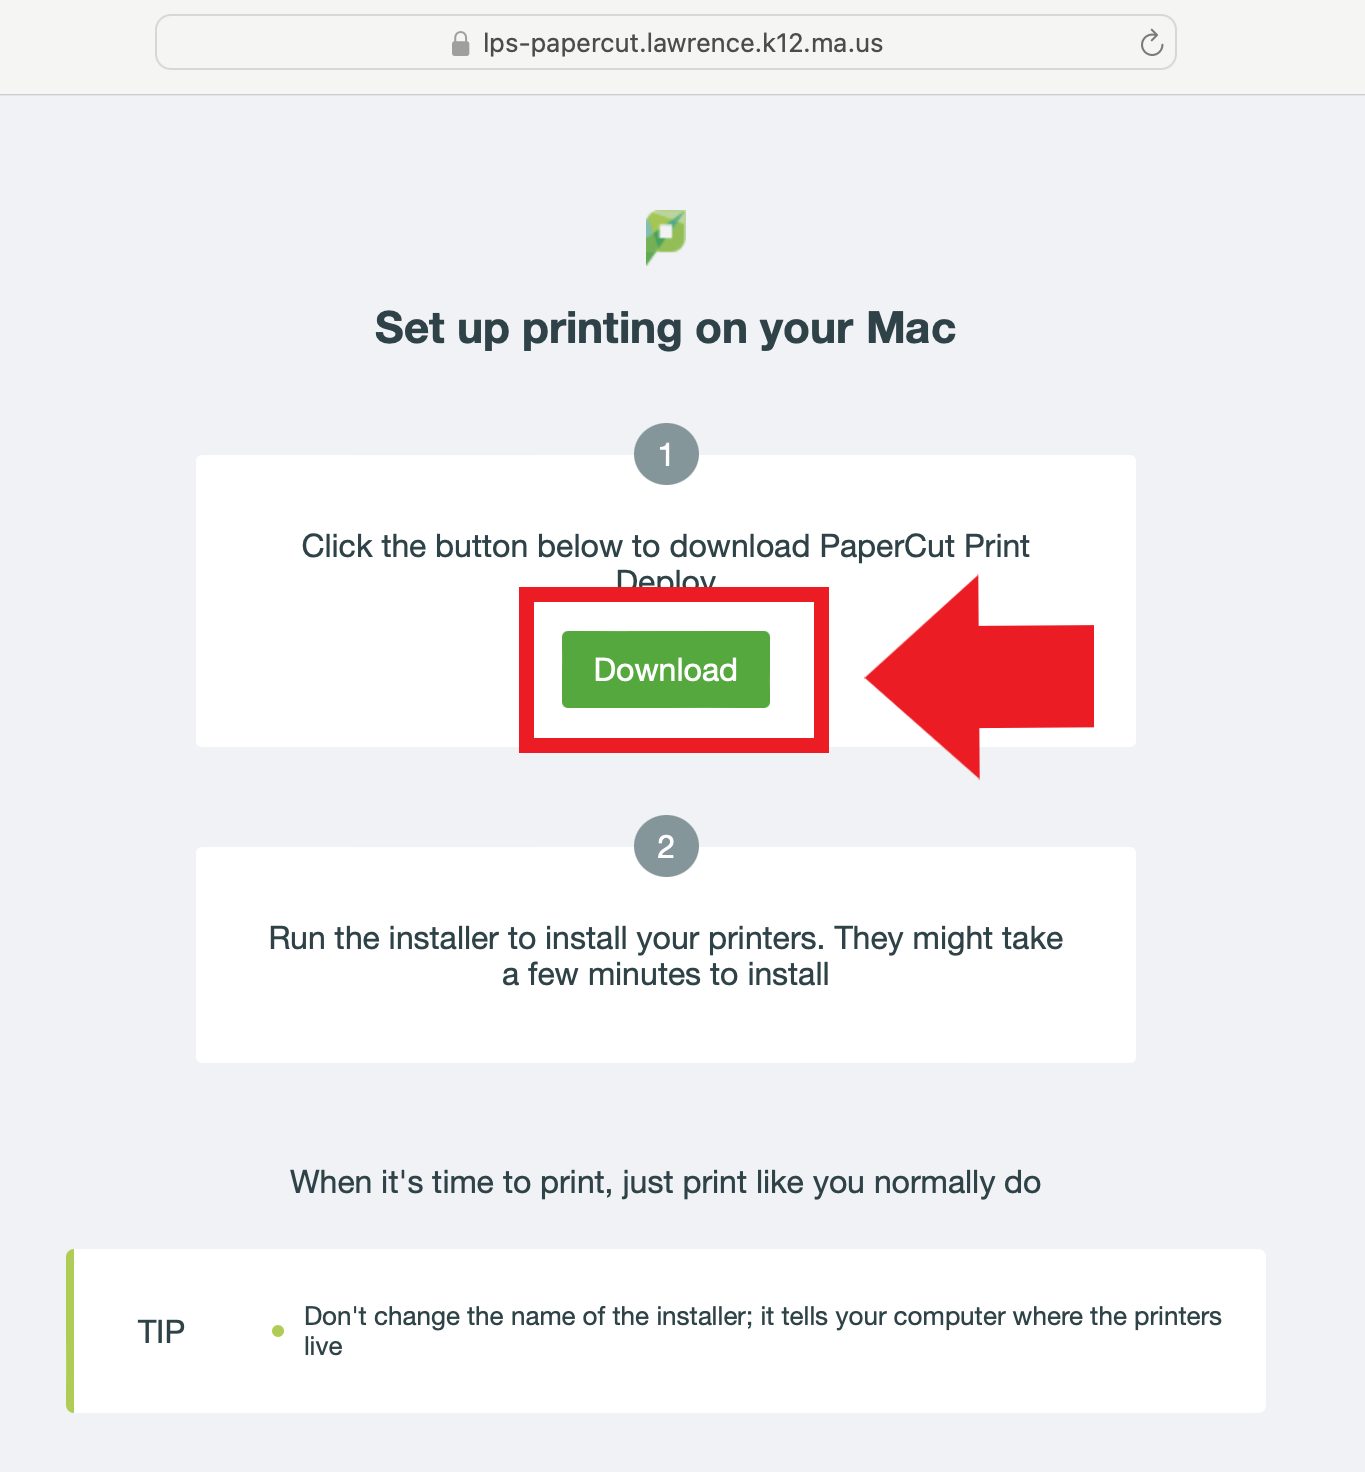
1 - Go to the install page at: https://lps-papercut.lawrence.k12.ma.us:9192/print-deploy/client-setup/macos.html
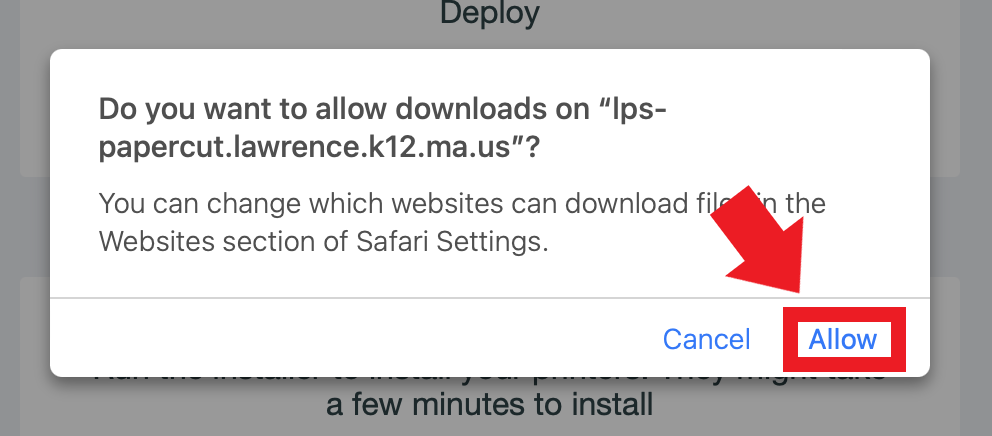
2 - Click the "Download" button under step 1 to download the application. You may need to click "Allow" to start the download on Safari
 |
 |
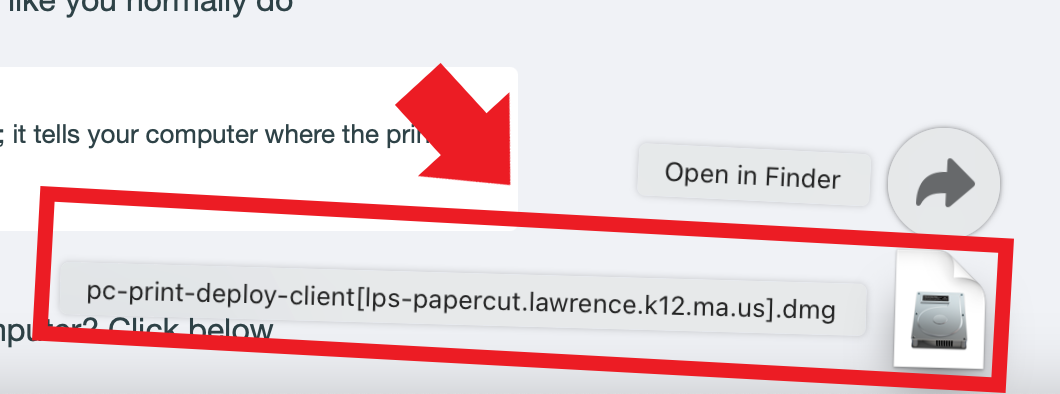
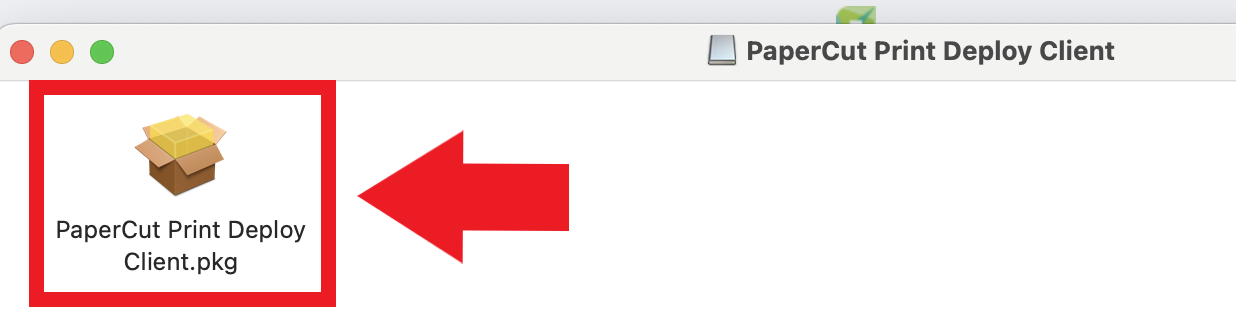
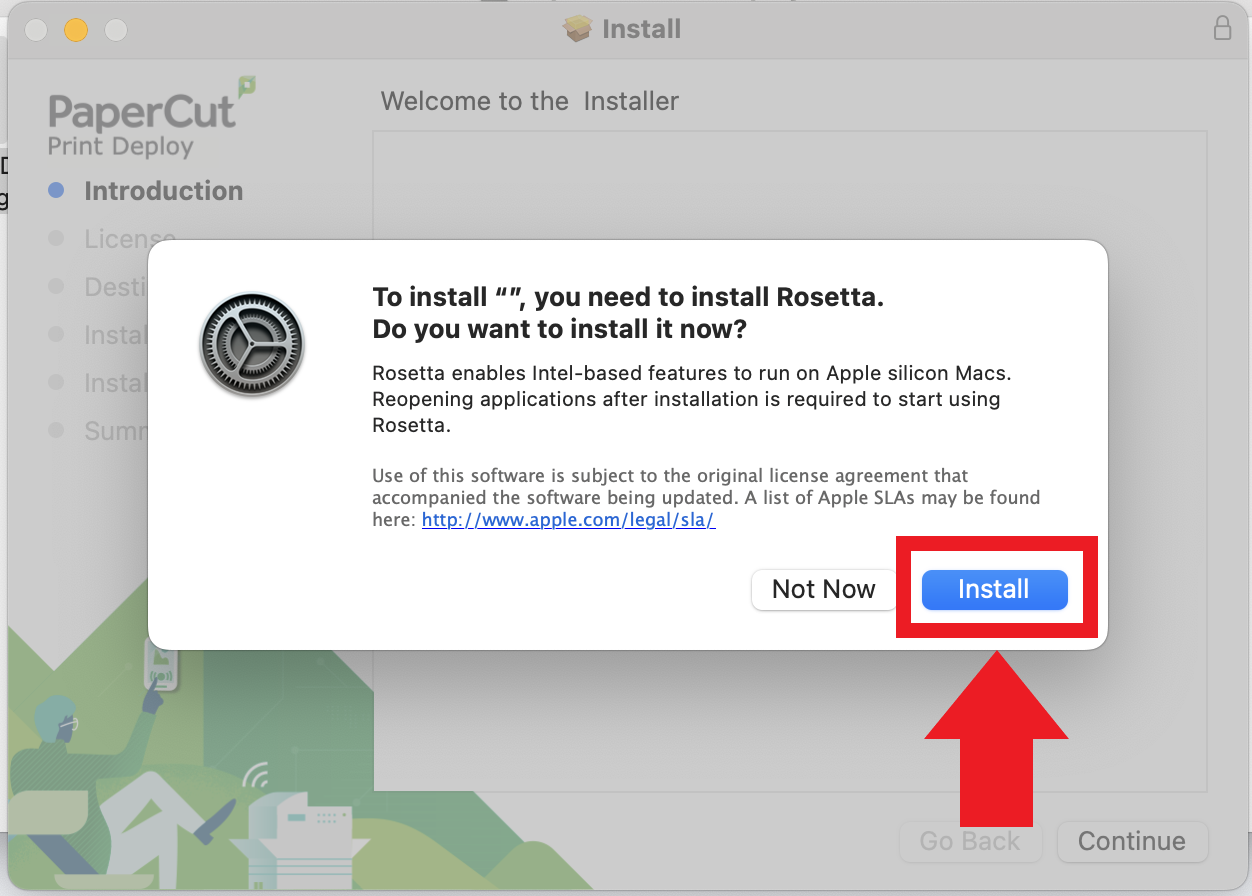
3 - Locate the downloaded application and open it to start the setup process. You may need to click "Install" on the security prompts that appear to start the installer
|
|
|
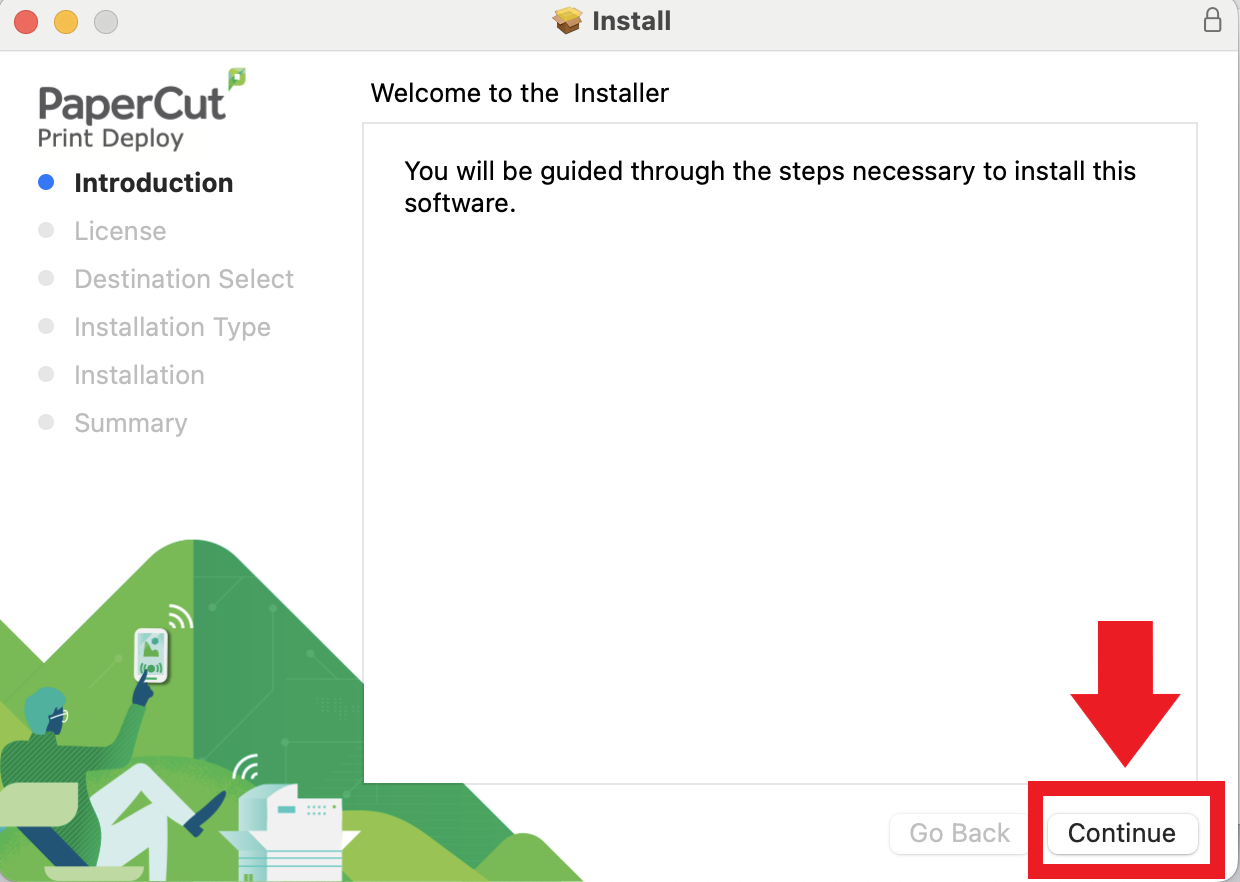
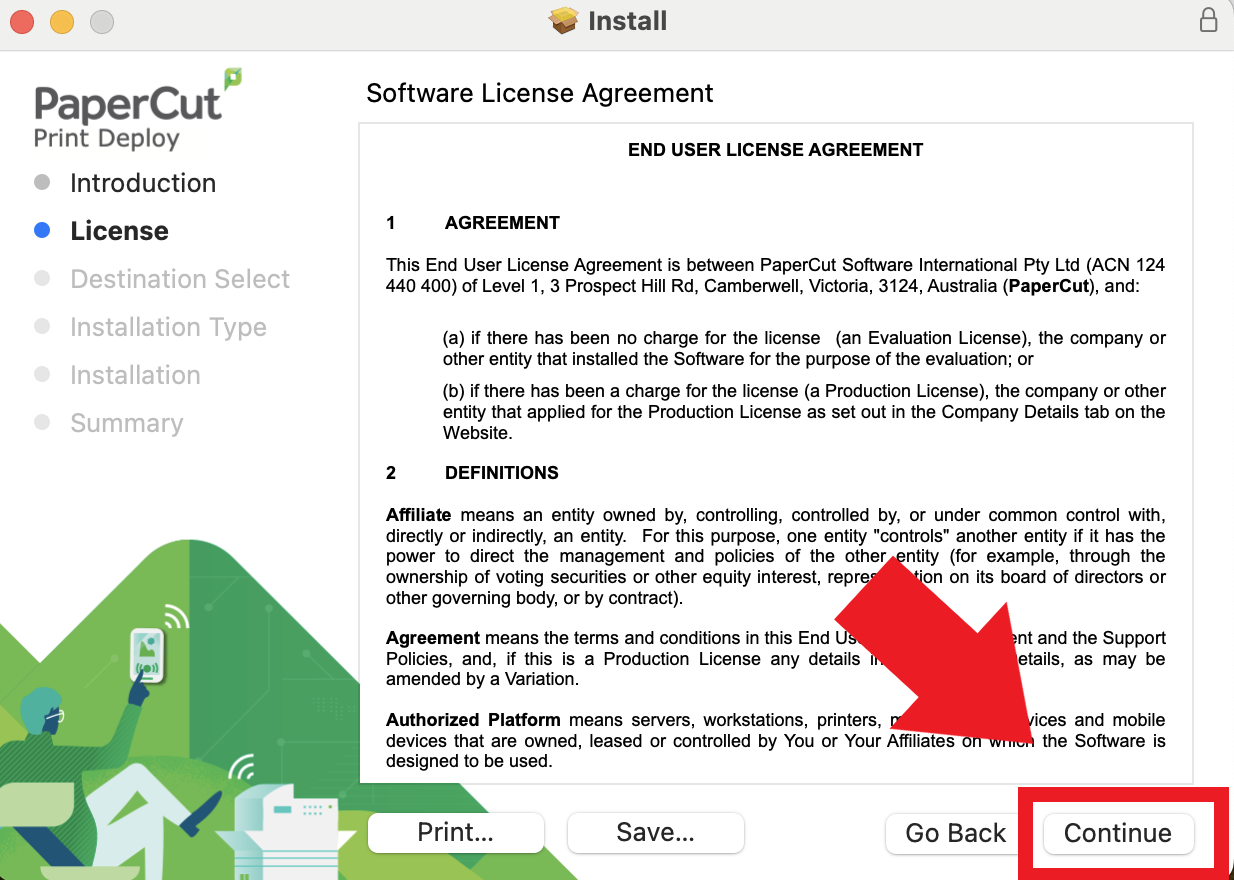
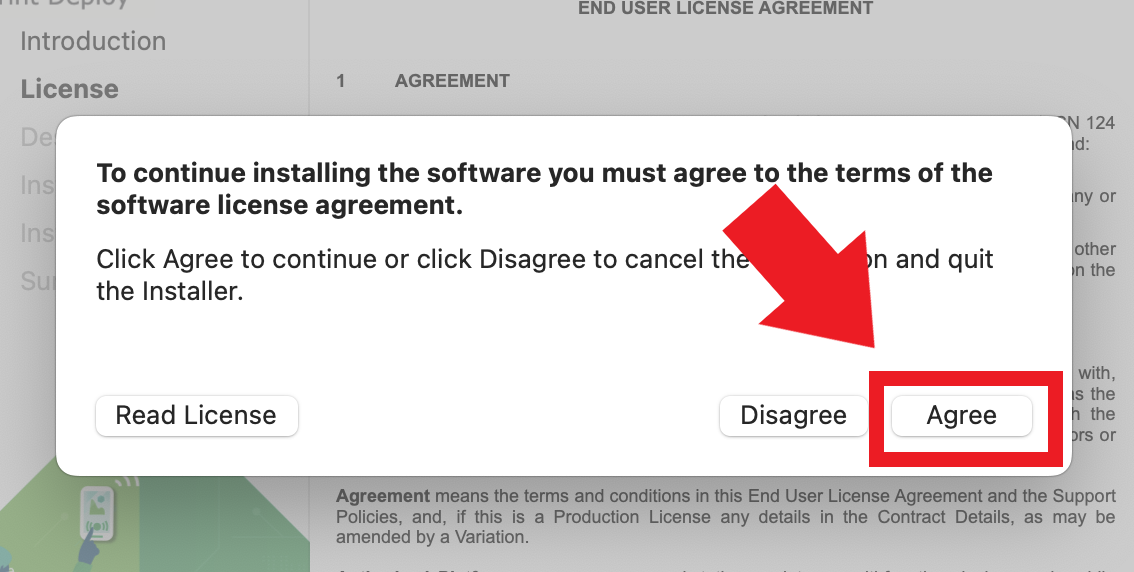
4 - The setup window will appear, click the "Continue" button and agree to the license agreement
 |
|
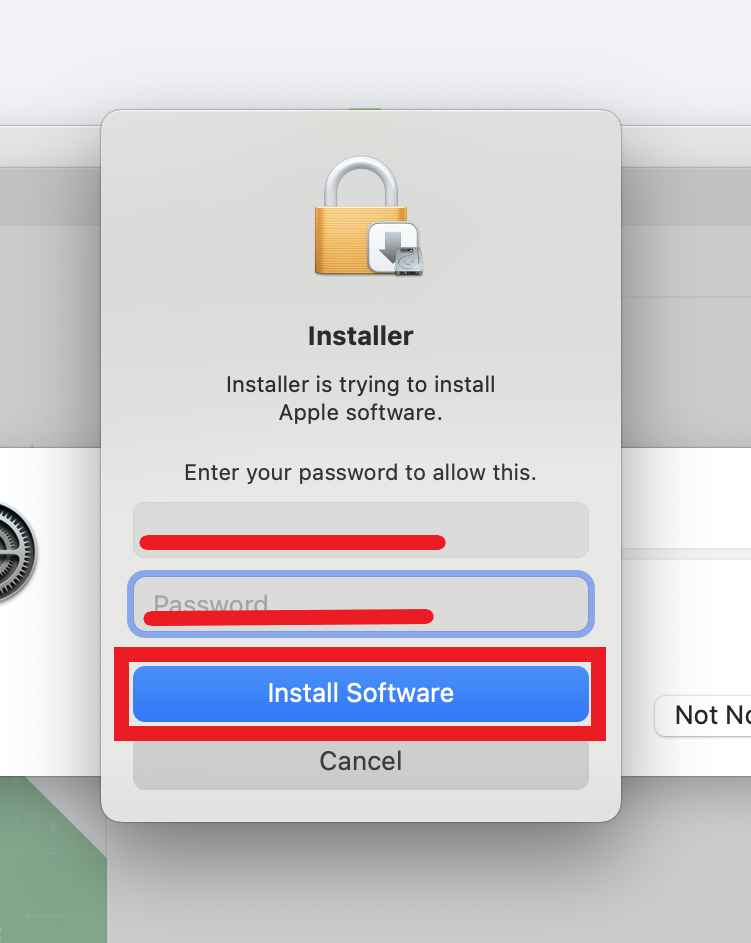
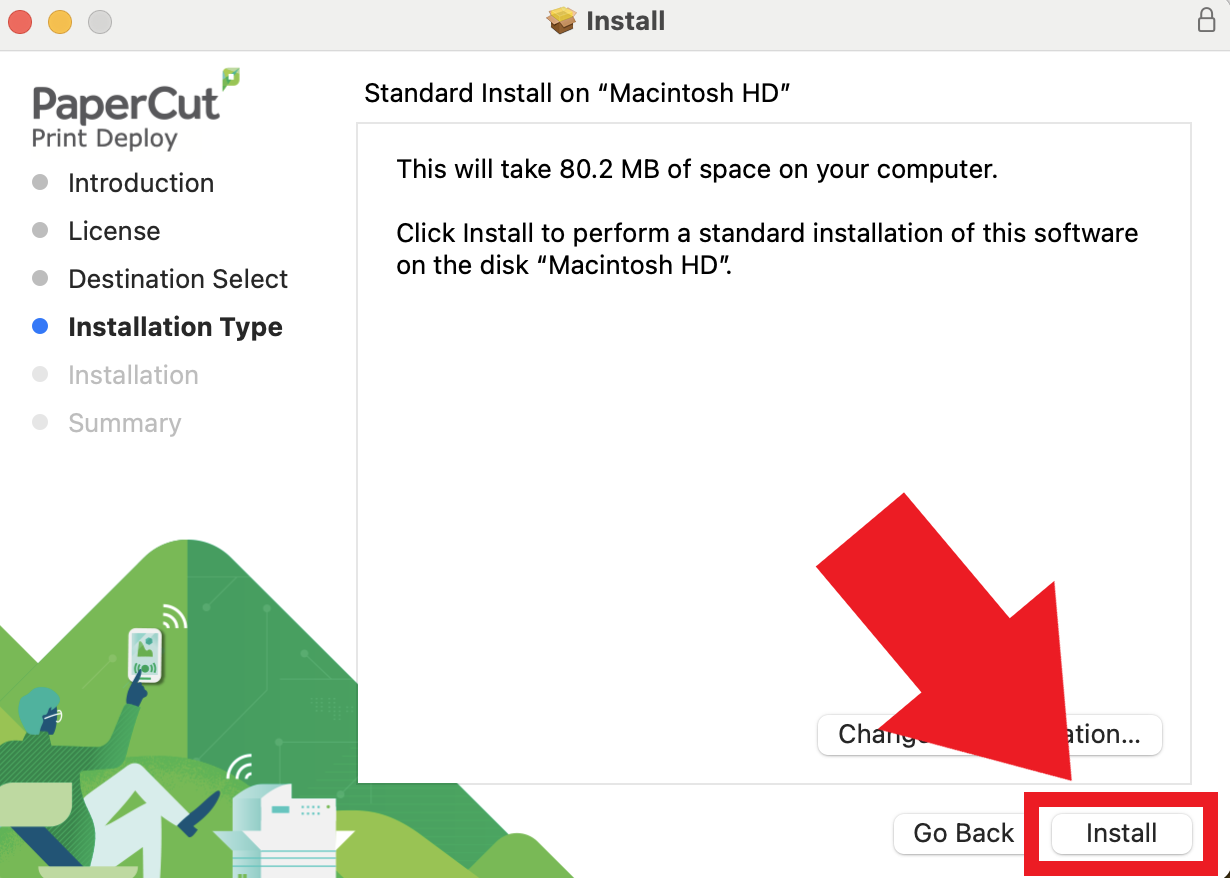
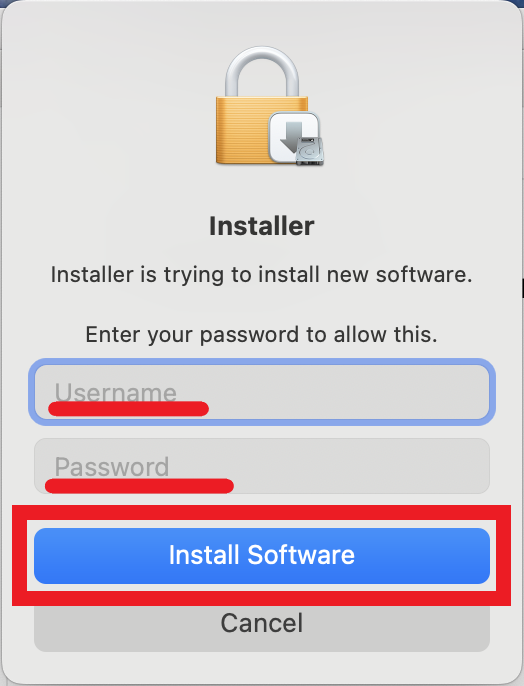
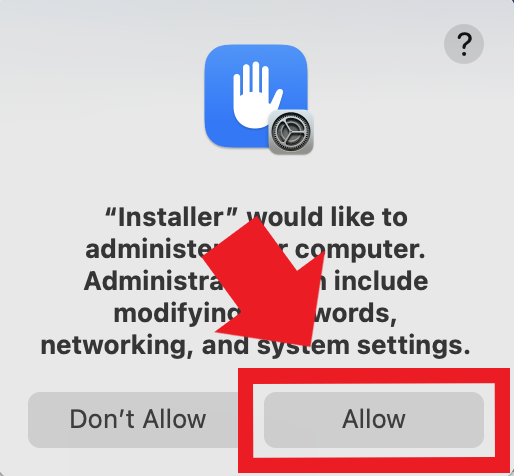
5 - Click the "Install" button to start the installation. You may need to go through a couple of security prompts to allow the software to install
 |
|
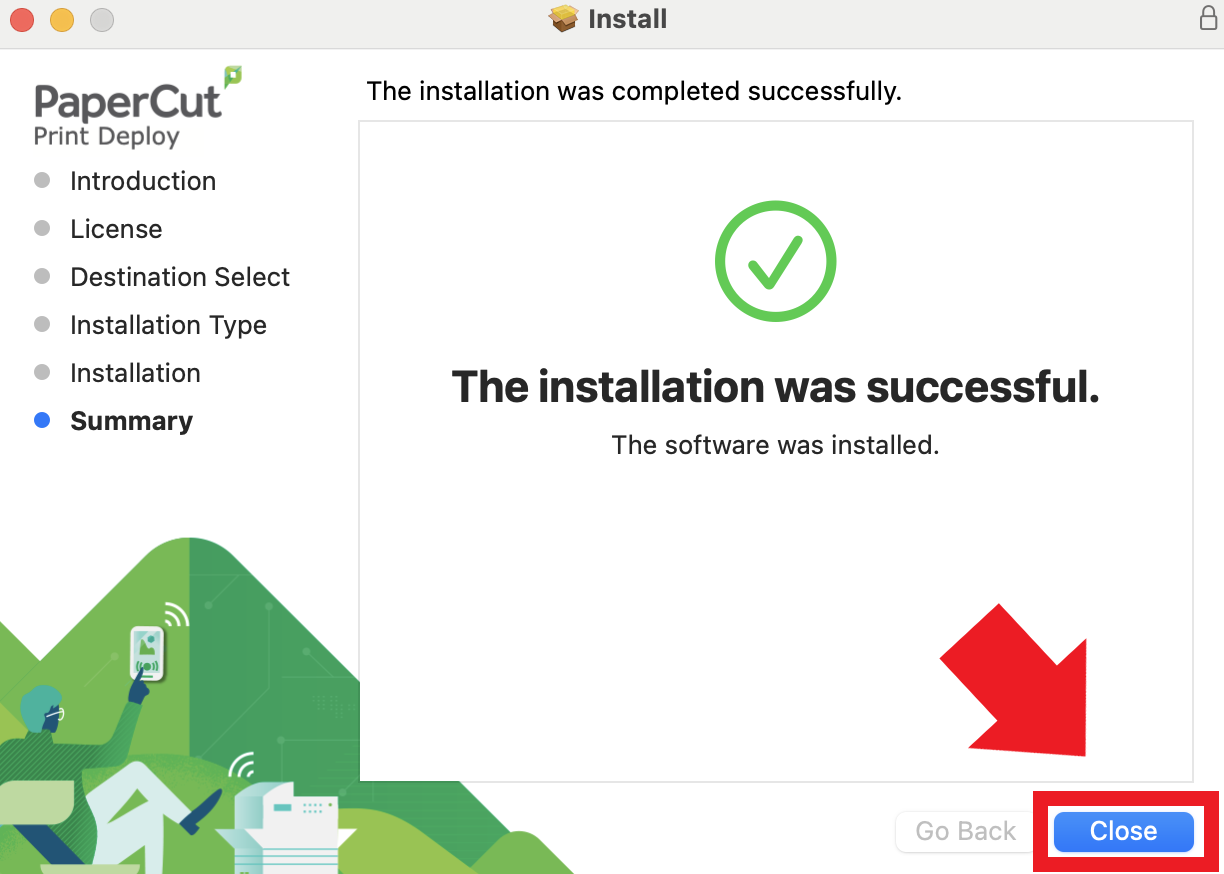
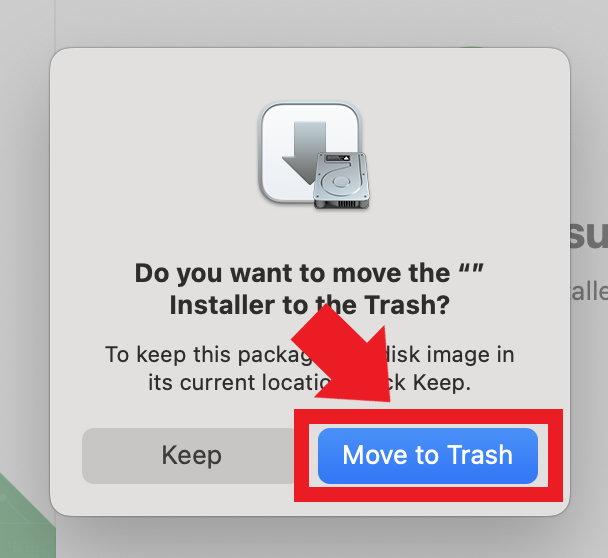
6 - Setup should take a moment. Once complete click on the "Close" button to finish the setup
 |
 |
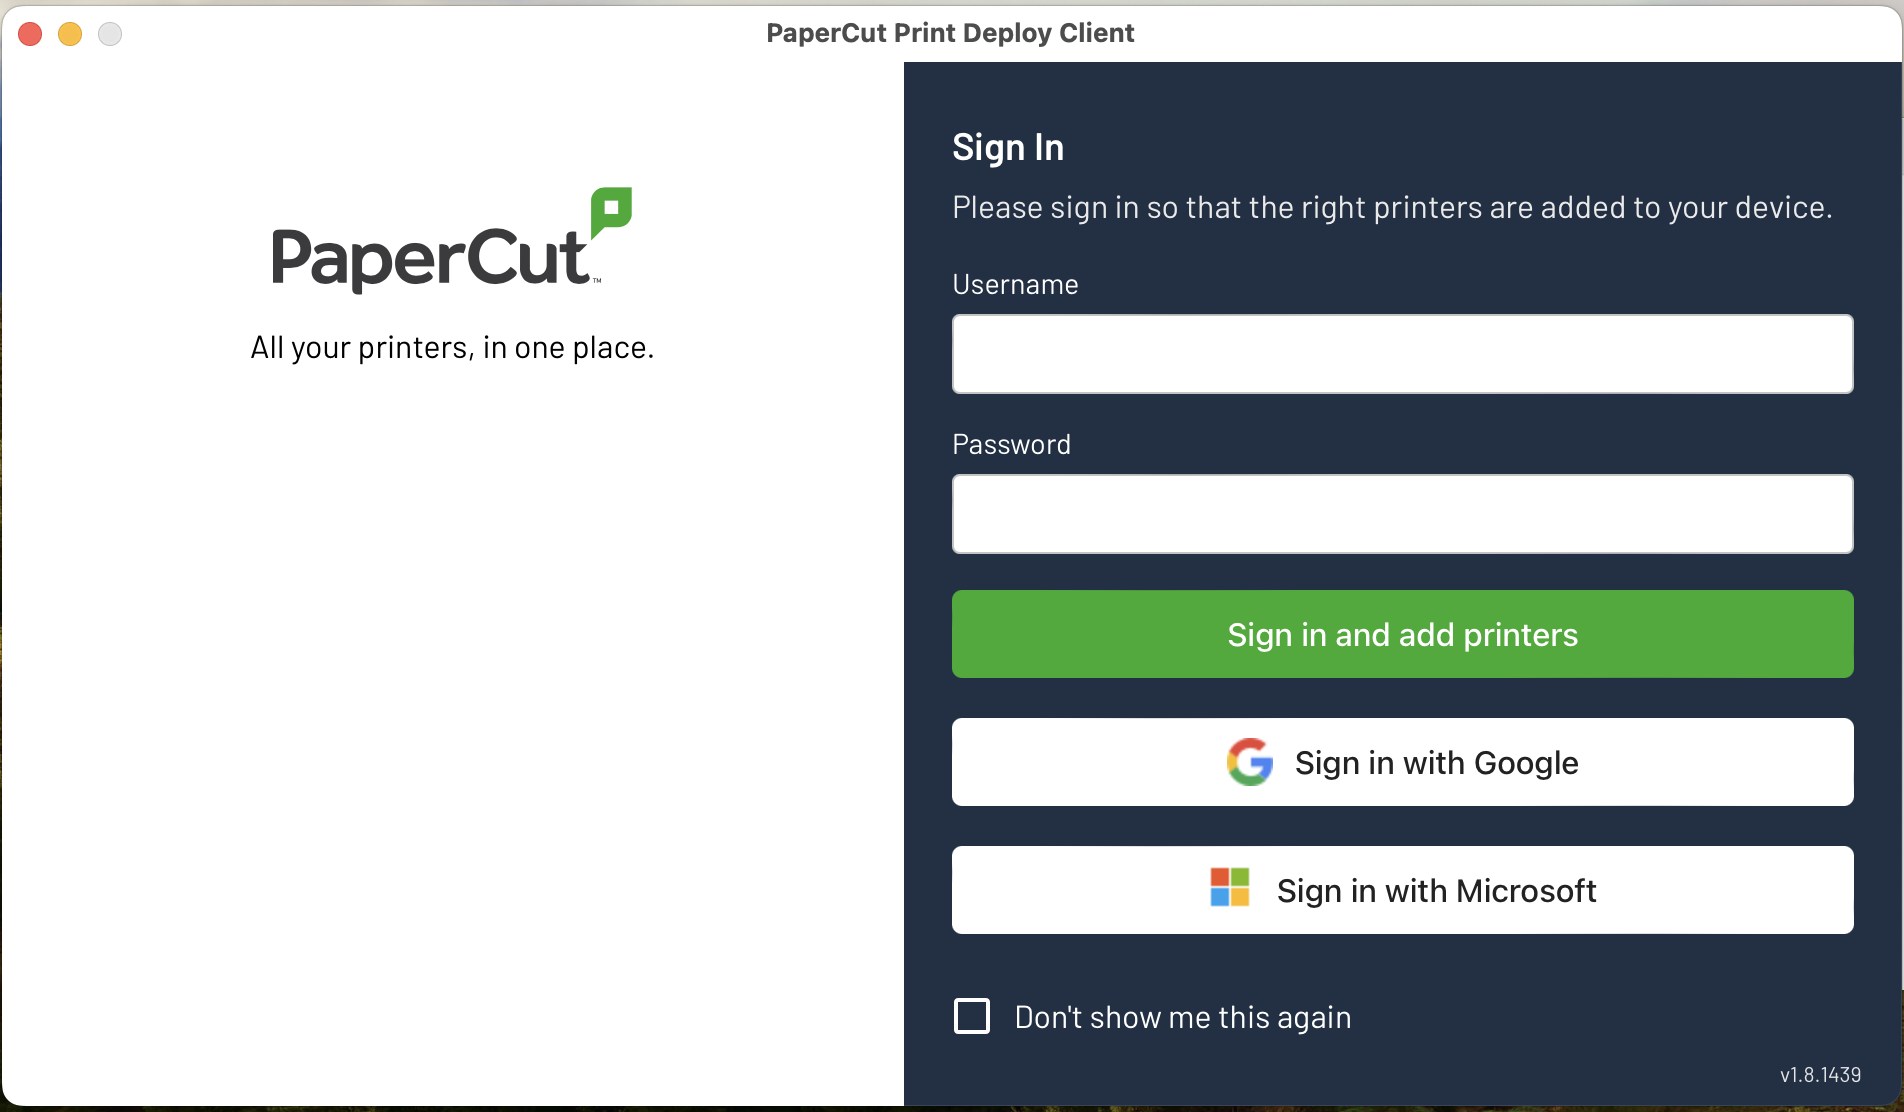
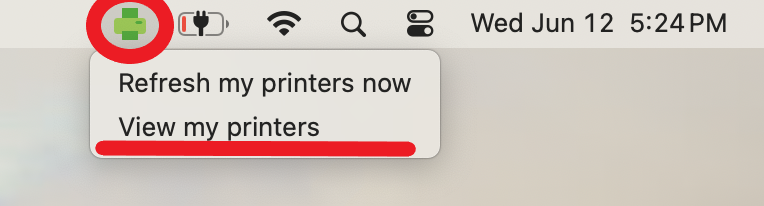
7 - The PaperCut log in window should appear after installation. If the log in window does not appear it can be opened by clicking on the green PaperCut icon in the top-right system tray and choosing "View my printers"
 |
 |
8 - Click on the "Sign in with Microsoft" button, another log in window will appear. Log in using your LPS account email and password. Page can be closed after logging in
 |
|
9 - Once logged in you will see any printers that have been added to your account. Printers will also be auto-installed so no extra work will be needed
10 - You can now print as you normally do to any printer. Printer will appear in the system with the same name that appears on PaperCut