How to share a Windows laptop screen to another display - Miracast
LPS Windows laptops have the ability to wirelessly connect to various display devices. Here are directions on connecting to such a device.
Starting a Miracast session to share you screen
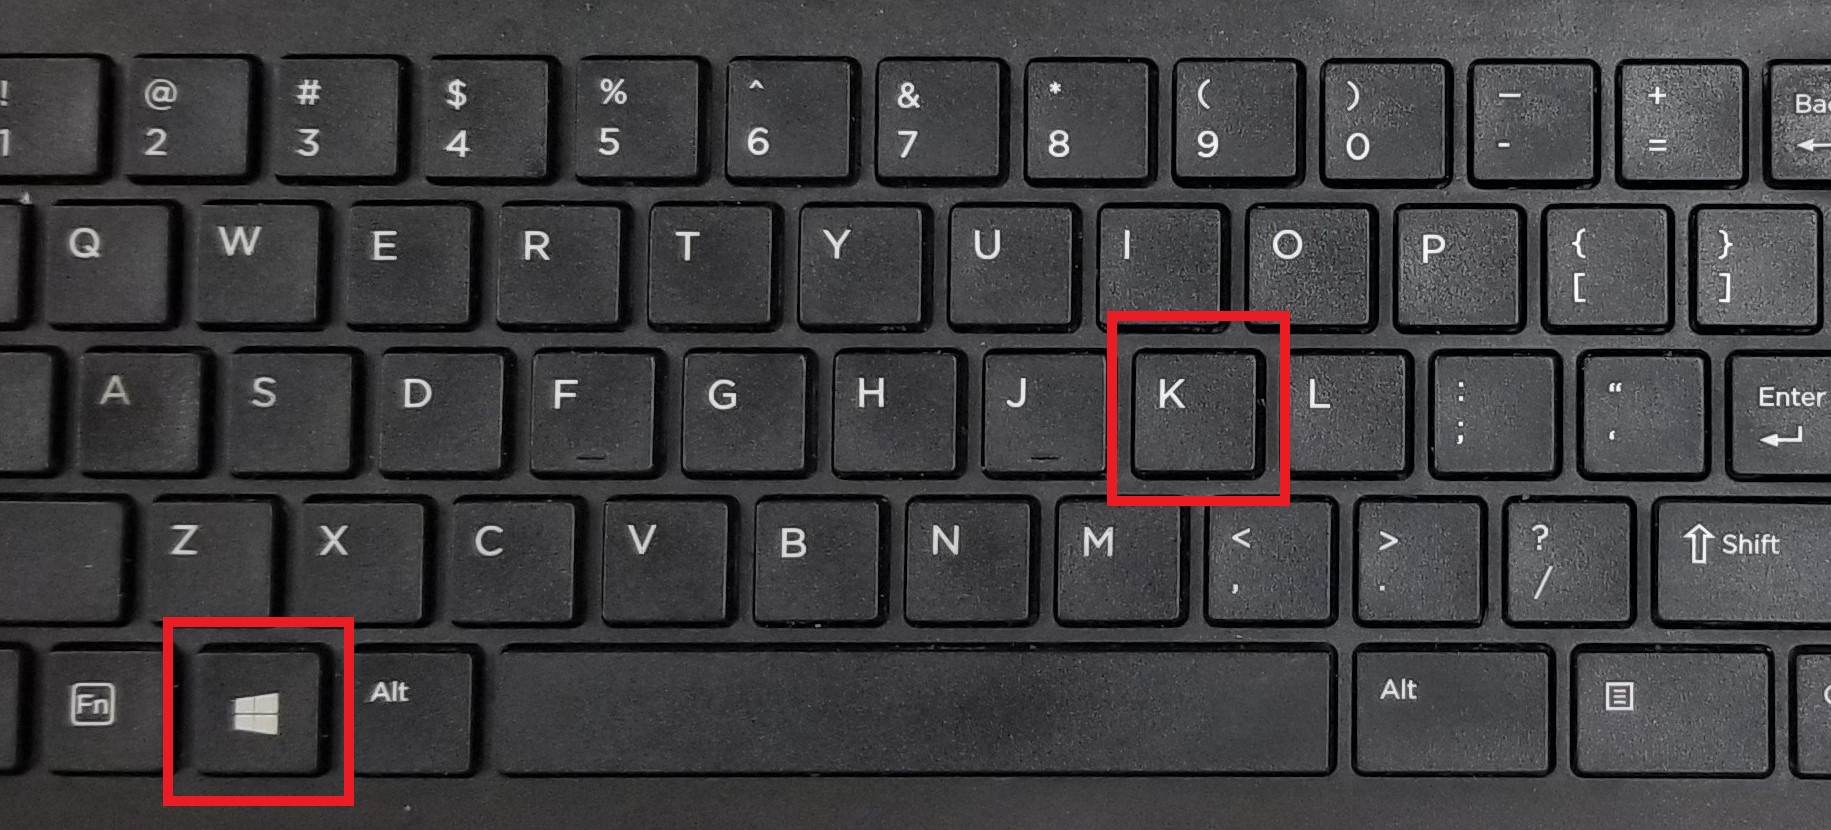
- Press the Windows and K keys on your keyboard at the same time
- A pop-up menu will appear on the right side of the screen
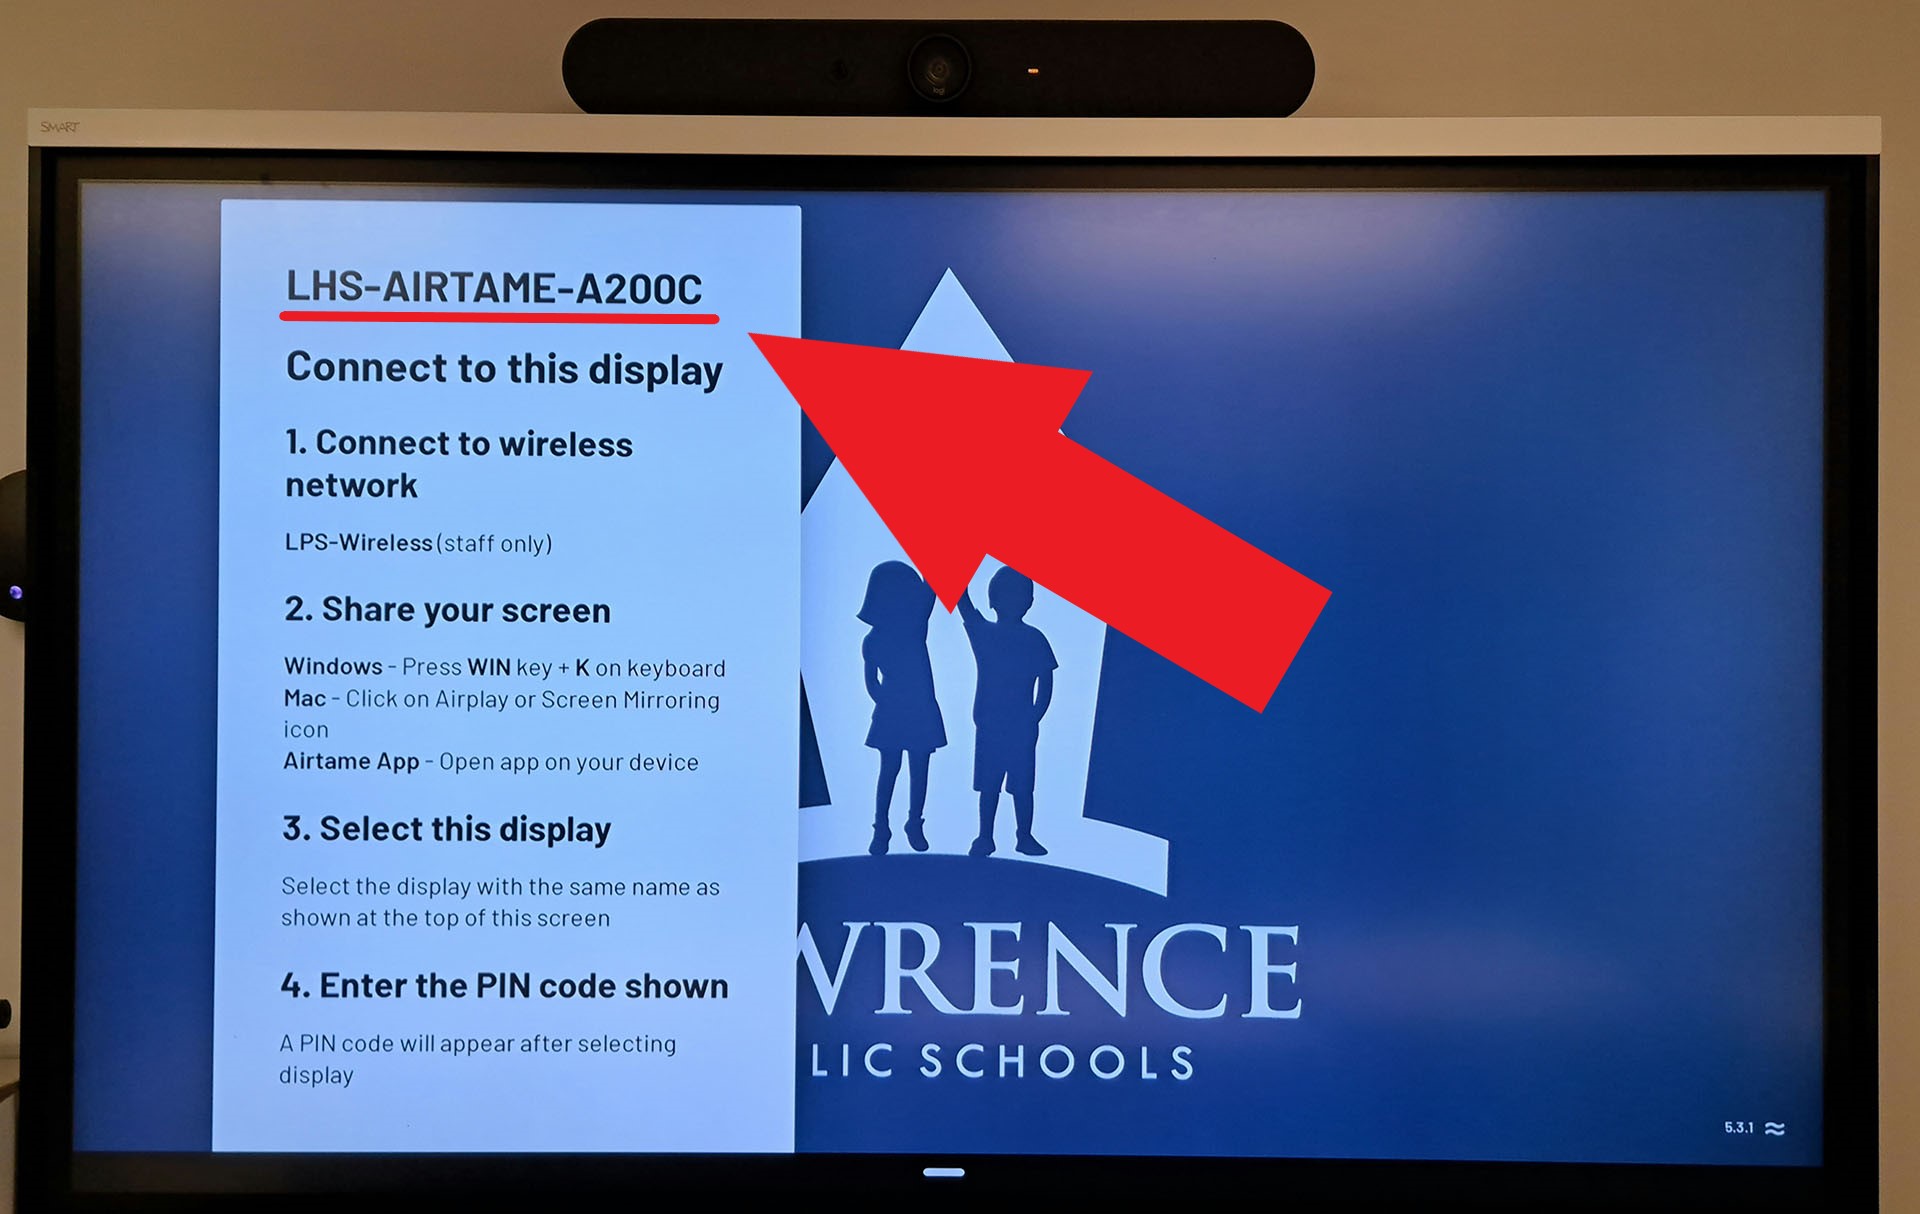
- Click on the display you would like to connect to from the list

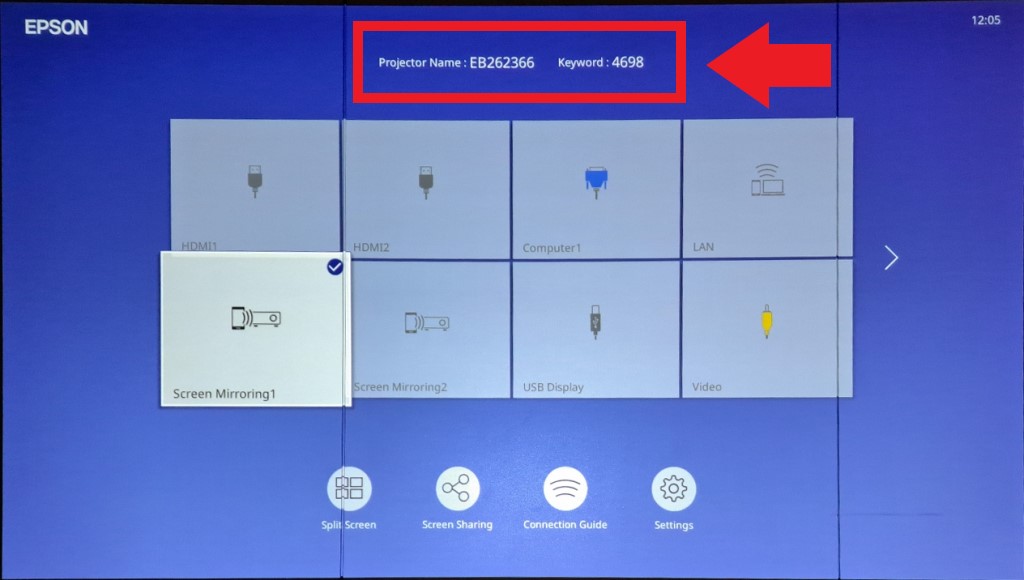
| Examples of displays |
||
 |
 |
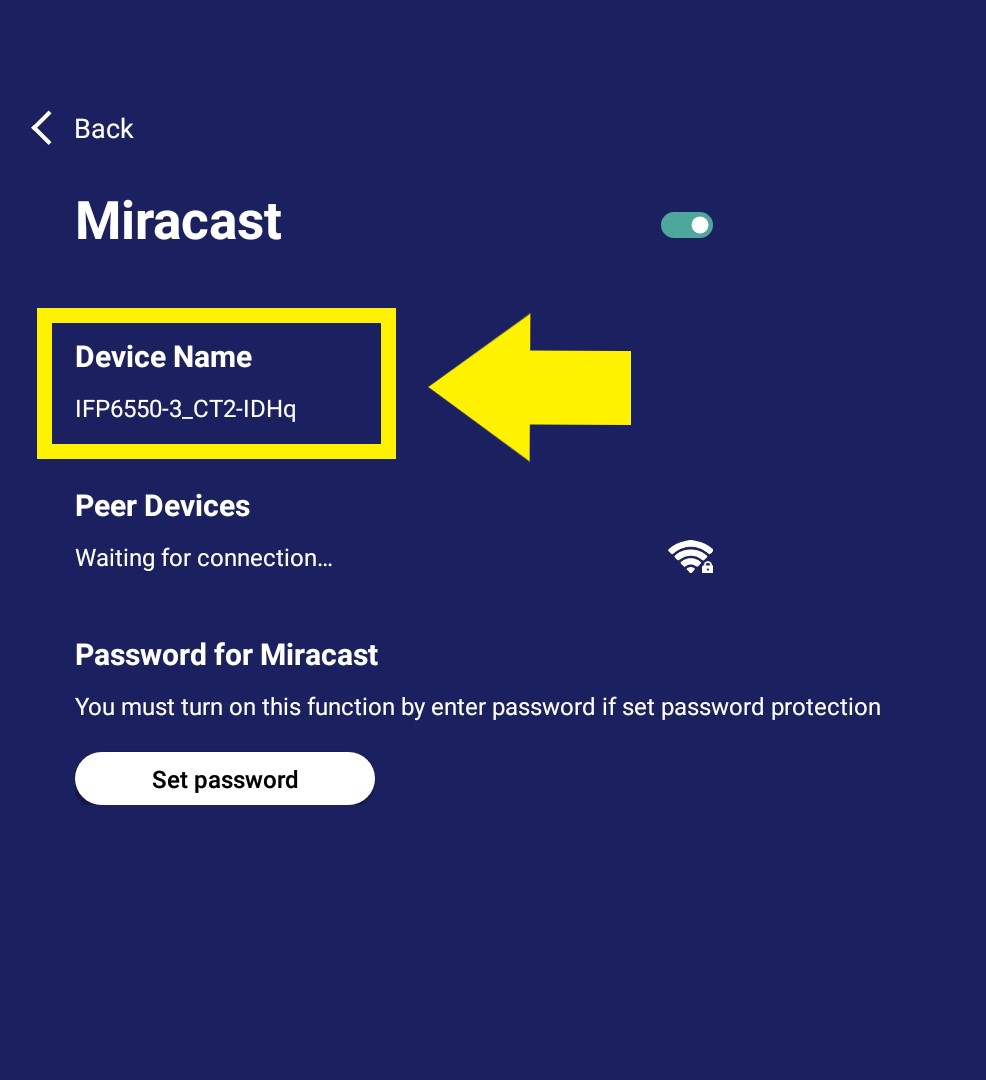 |
| Airtame Display | Epson Projector | ViewSonic Display |
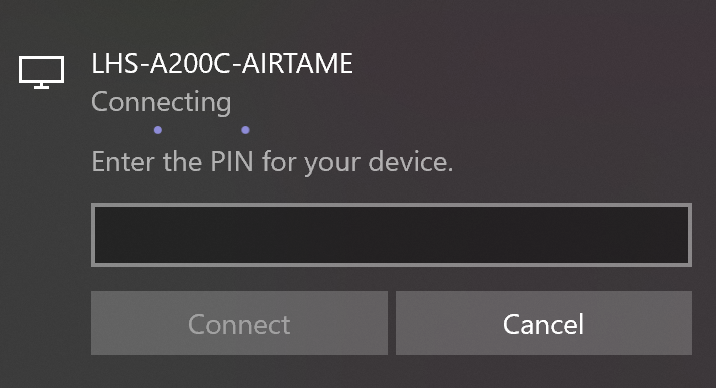
- (Optional) If the display requires a passcode you will need to enter it into the textbox that appears in the side menu
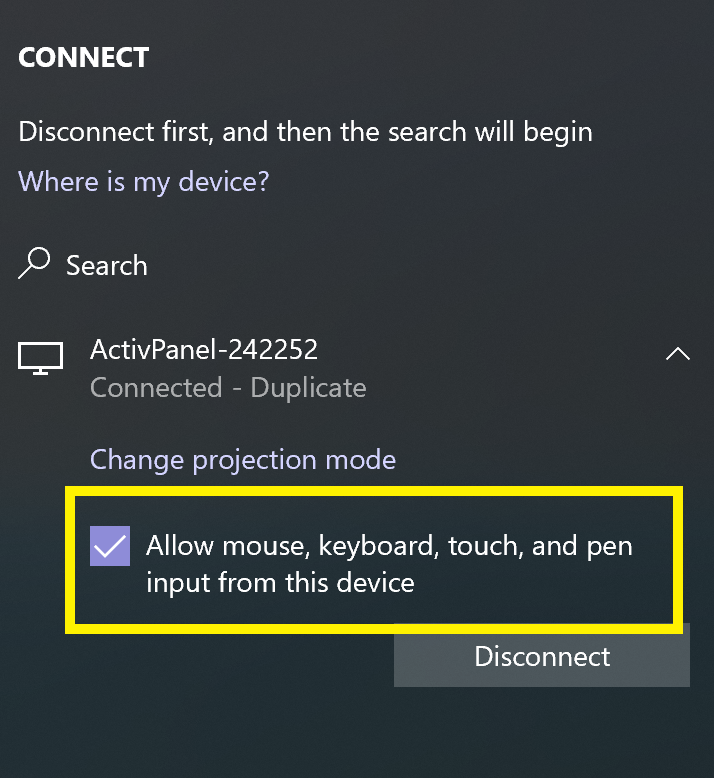
- (Optional) If the display has touch support through Miracast you can click the checkbox next to "Allow mouse, keyboard, touch, and pen input from this device" in the sidebar to allow the touch on the display to interact with the laptop
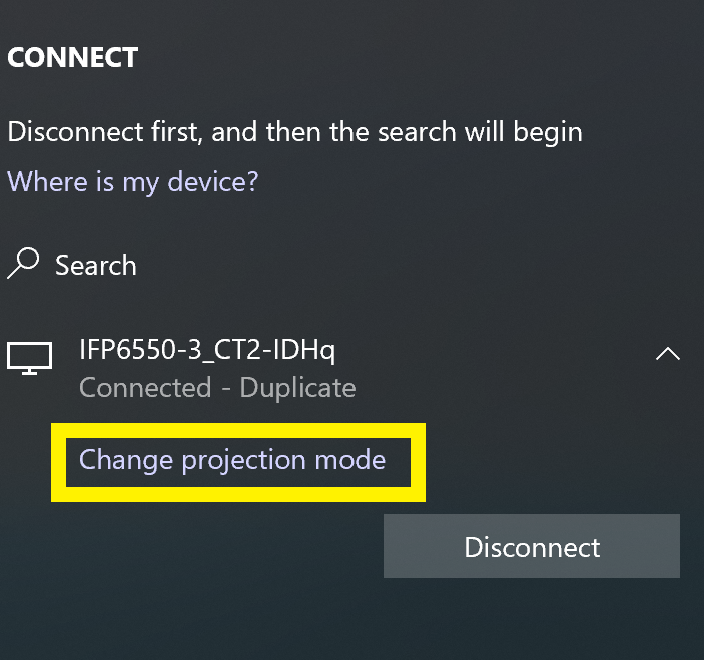
- If needed you can change the way content is displayed by clicking "Change projection mode" on the sidebar.
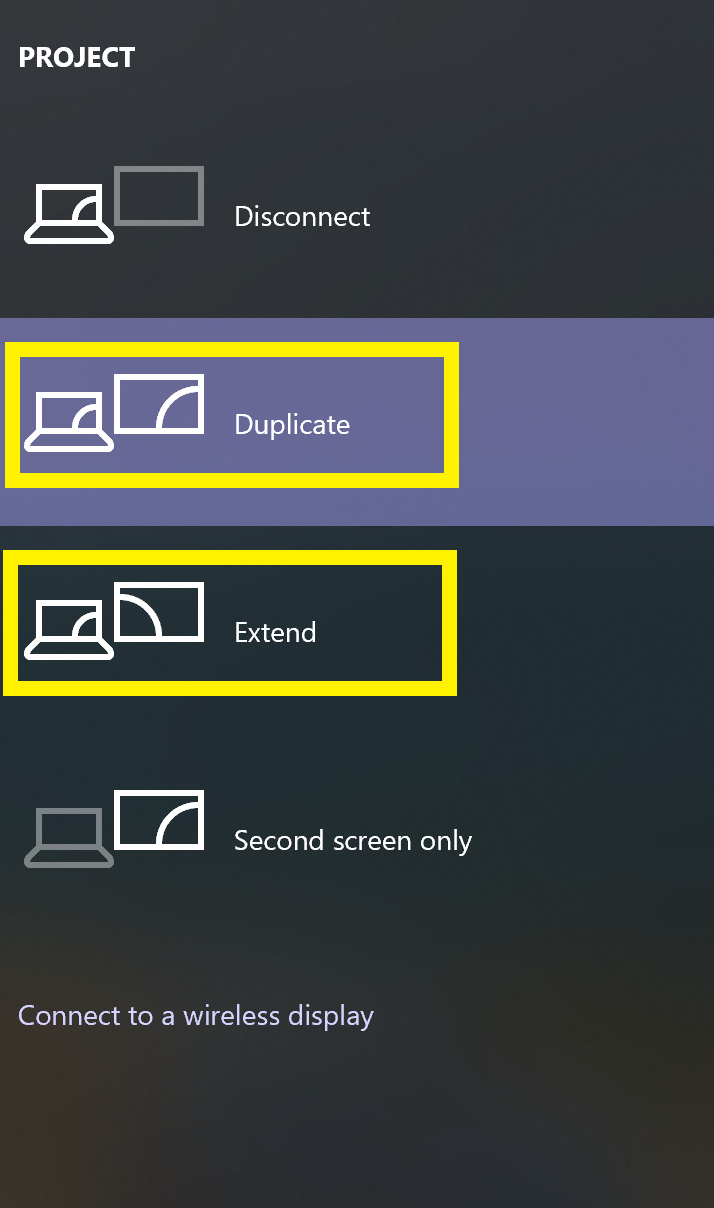
- You can select from either "Duplicate" or "Extend". Duplicate will mirror your laptop screen to the display. Extend will treat the display as a second monitor
- After the device connects to the wireless display, a bar at the top of the screen will appear
- When you wish to end the session, click "Disconnect" on the bar at the top of the screen
![]()